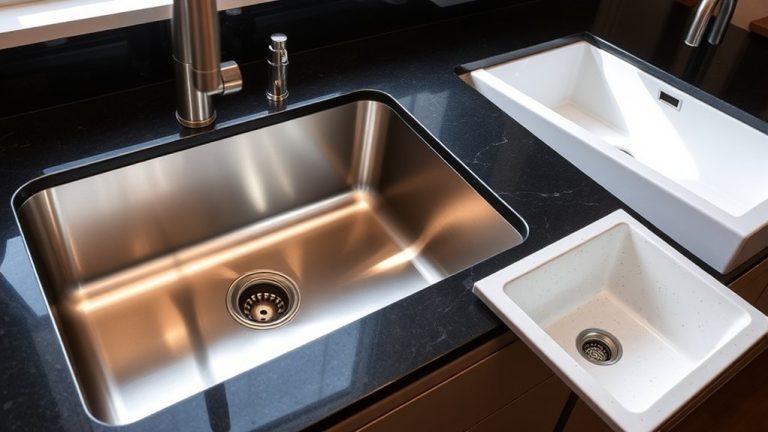
Replace Your Kitchen Sink Strainer in 7 Simple Steps
Dealing with a clogged or leaky kitchen sink strainer can be really frustrating. Many people struggle with figuring out how to replace it without making a mess or causing leaks. If you’re tired of dealing with these issues, you’re not alone—replacing your kitchen sink strainer is simpler than you think.
To replace your kitchen sink strainer in 7 simple steps, start by gathering tools like a wrench, putty knife, and the new strainer. Turn off the water, then remove the old strainer by loosening the locknut and disconnecting the drain pipe.
Clean the area thoroughly before installing the new strainer, making sure it sits flush and seals properly. Check for leaks once water is running.
For detailed tips on troubleshooting and maintenance, keep going.
Key Takeaways
- Turn off the water supply, disconnect the drain pipe, and carefully remove the old strainer.
- Clean and dry the sink surface to make sure everything fits properly.
- Insert the new strainer into the drain opening, lining up the gasket or washer underneath.
- Tighten the locknut from below, making sure the strainer sits flush and feels secure.
- Turn on the water and run it to check for leaks. Adjust or replace gaskets if needed.
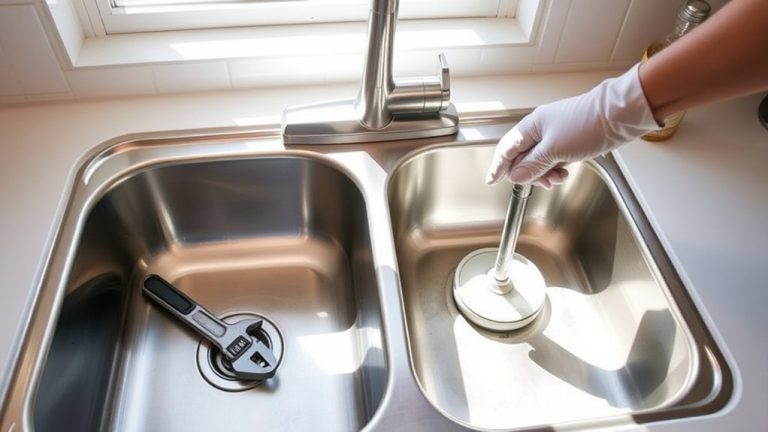
What Tools and Materials Do You Need to Replace a Sink Strainer?
Before you start replacing your sink strainer, make sure you have the right tools and materials ready. First, check that your tools are in good shape—well-maintained tools make the job easier and safer. You’ll need an adjustable wrench or pliers to loosen and tighten fittings, and a putty knife to remove old plumber’s putty or sealant.
A bucket or container is handy for catching any water that might spill during removal. For materials, choose a new sink strainer that matches your sink material—this helps ensure a good seal and a long-lasting fit. You’ll also want plumber’s putty or a rubber gasket to create a watertight seal.
Don’t forget cleaning supplies like a rag or brush to clear debris from the sink surface. Having the right tools and materials ready will make the replacement process smoother, reduce the chance of tool damage, and help you maintain your tools for future repairs.
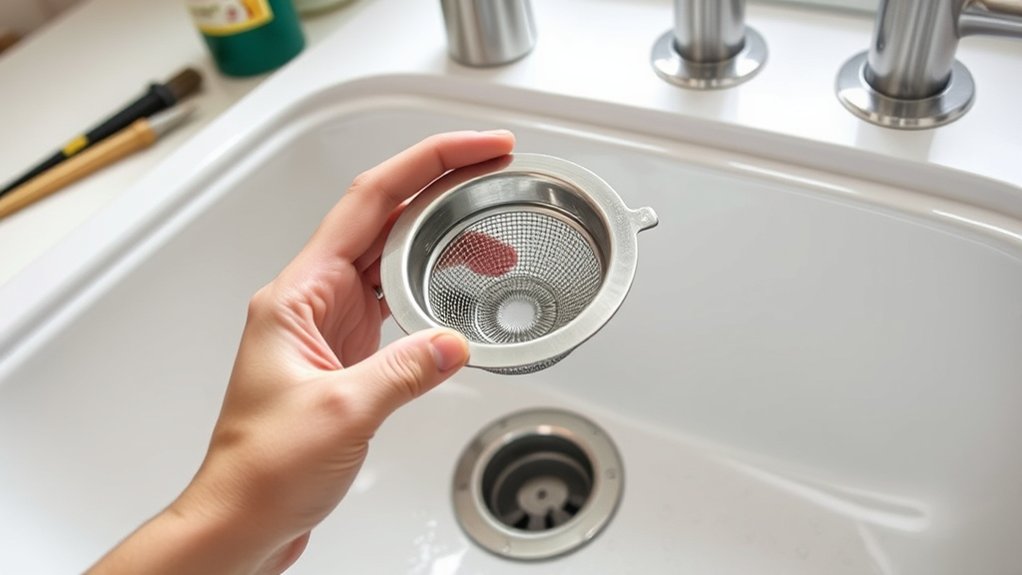
How to Safely Remove Your Old Sink Strainer
Before you start removing your old sink strainer, make sure to turn off the water supply first. That way, you won’t have any surprises or leaks while working on it. Once the water is off, carefully take out the drain parts—be gentle so you don’t damage anything.
After removing the old parts, take a moment to clean the area around the drain. This will help everything fit nicely and ensure your new sink strainer works perfectly. Following these simple steps makes removing the old strainer safe and sets you up for an easy installation of the new one.
Turn Off Water Supply
To safely remove your old sink strainer, start by turning off the water supply to prevent leaks or water damage. This step is essential for water conservation and following plumbing rules.
Locate the shut-off valves under the sink and turn them clockwise to stop the flow. If there’s no local shut-off valve, turn off the main water supply to your home.
Before proceeding, open the faucet to drain any remaining water and relieve pressure. Turning off the water makes the workspace safer, reduces mess, and prevents accidental water damage.
Always double-check that the water is fully off before removing the strainer. Properly shutting off the water is a key step in maintaining plumbing standards and protecting your kitchen during the replacement process.
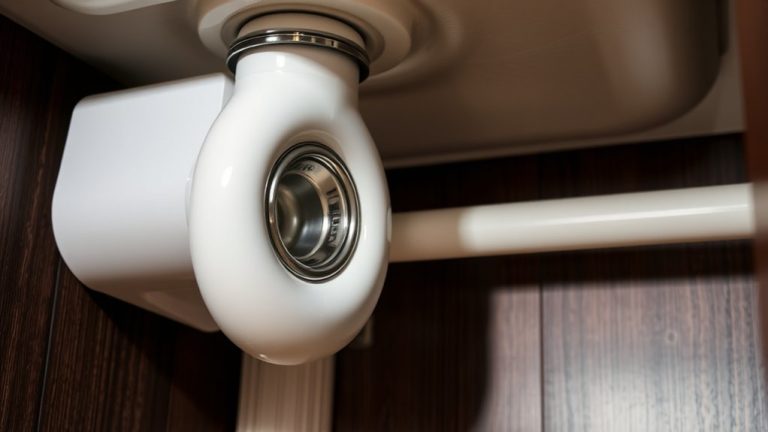
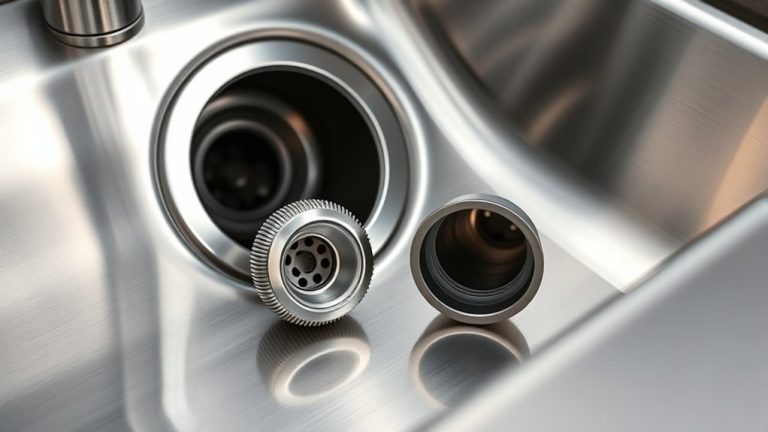
Remove Drain Components
With the water supply turned off and drained, you can now focus on removing the drain components of the old sink strainer. Carefully loosen and unscrew the locknut securing the strainer to the sink.
Next, disconnect the drain pipe from the strainer, making sure to catch any residual water. If your sink has a garbage disposal, detach it from the drain assembly, following the manufacturer’s instructions.
Finally, remove any remaining debris or buildup to ensure a thorough drain cleaning later. This process helps prepare your sink for a new strainer while keeping the drain clean and functional.
Clean Surrounding Area
Start by clearing the area around the sink to remove any loose debris, dishes, or cleaning supplies. This makes it easier to work safely and efficiently.
Use a damp cloth or sponge to wipe down the surrounding countertops, removing soap scum or grime. If you notice stains or buildup, apply a gentle stain remover or a mixture of baking soda and vinegar to loosen them.
This helps prevent dirt from falling into the drain area during removal. Verify the surface is dry before proceeding.
Keeping the surrounding area clean not only improves safety but also makes the overall replacement process smoother. Proper cleaning techniques minimize mess and prepare the space for the next steps in replacing your sink strainer.
Cleaning and Preparing Your Sink for the New Strainer
Before installing a new sink strainer, it’s important to thoroughly clean and prepare your sink. This helps ensure a proper fit and prevents future clogs. Start by removing any debris, soap scum, or old residue to create a clean surface.
This step also helps your new strainer work correctly and keeps your kitchen organized. Consider scrubbing the sink with a gentle cleaner to eliminate buildup and give it a fresh look.
Next, check the drain opening for any damage or obstructions, and make repairs if needed. Dry the sink completely so you can achieve a tight seal when installing the new strainer.
While you’re cleaning, think about decorating ideas to make your kitchen more inviting. A tidy, well-prepared sink area makes future maintenance easier and more efficient.
Proper preparation sets the foundation for a successful upgrade and a more organized, attractive kitchen space.
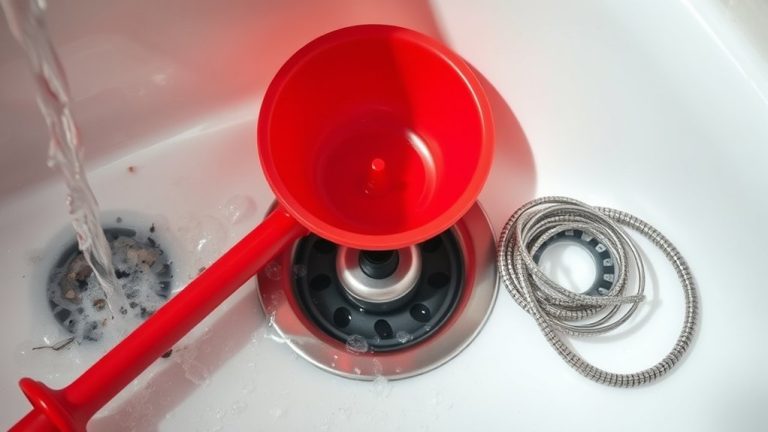
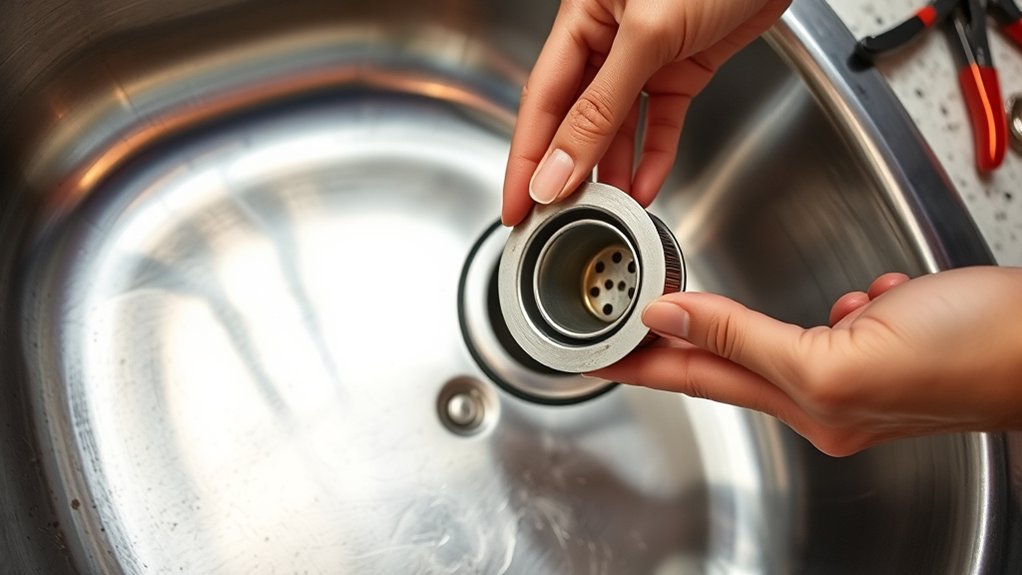
How to Install a New Kitchen Sink Strainer
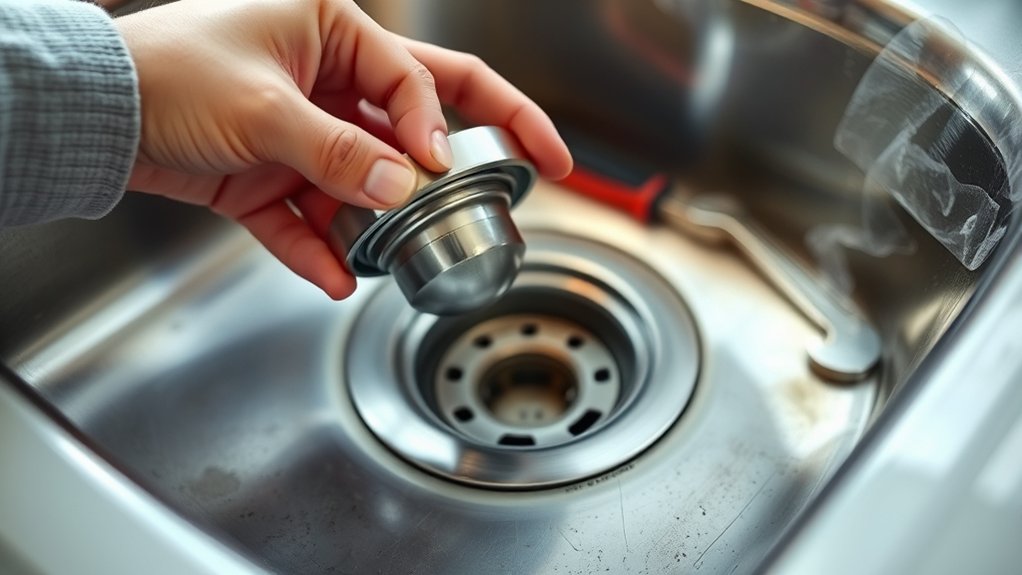
Installing a new kitchen sink strainer is pretty simple and can be done in just a few steps. First, make sure the sink’s surface is clean and dry. This helps the new strainer seal properly and keeps your kitchen looking neat.
Next, insert the strainer into the drain opening from above. Align the rubber gasket or washer underneath to create a tight seal. From underneath, screw on the locknut to hold it in place.
Tighten the locknut by hand first, then give it a gentle turn with pliers if needed. Just tighten enough to prevent leaks. Make sure the strainer sits flush with the sink surface.
Double-check that it’s secure and properly aligned. This simple step keeps your plumbing working well and helps avoid leaks. It also keeps your kitchen functional and looking good, saving you time and potential repairs later on.
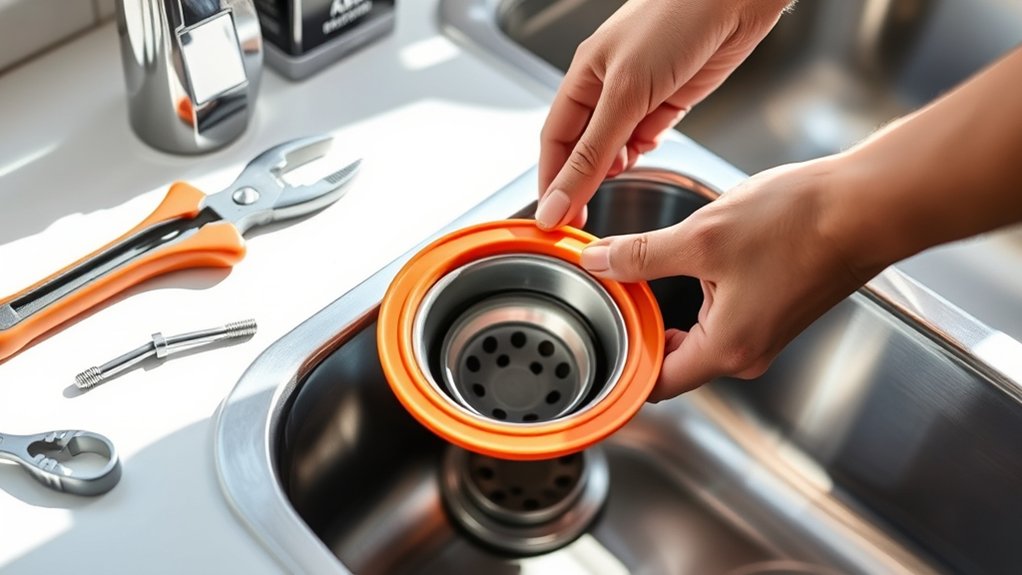
How to Check for Leaks and Ensure a Proper Fit
Once you’ve installed the new sink strainer, it’s important to check for leaks and make sure it fits properly. Ensuring a good fit helps your sink work smoothly and prevents water damage.
Start by running water into the sink and look around the strainer for any leaks or drips. This quick check shows if everything is sealed correctly.
Next, tighten the locking nut gradually. Make sure it’s snug but avoid over-tightening, which could cause damage to the parts.
Use a paper towel or cloth around the base to spot any water seeping out during the leak test. This helps confirm that the seal is secure.
If you see water escaping, try readjusting the strainer or replacing the gasket if needed. A proper fit not only prevents leaks but also makes your sink last longer.
Following these simple steps will help you ensure your sink is watertight and correctly installed. It gives you peace of mind knowing there won’t be any leaks in your kitchen.
Tips for Maintaining Your Sink Strainer and Preventing Clogs
Regularly cleaning and inspecting your sink strainer is key to keeping your drain clog-free. To prevent buildup, remove debris daily and wash the strainer with warm, eco-friendly materials like baking soda and vinegar. These materials are safe for your pipes and the environment, making them perfect for routine maintenance.
Regularly clean and inspect your sink strainer with eco-friendly materials to prevent clogs and maintain a healthy drain.
Check for signs of damage or wear and replace worn parts promptly. DIY repair tips like using a plunger or a homemade mixture of baking soda and vinegar can help clear minor clogs without harsh chemicals.
Installing a strainer with a tight seal can also help prevent large particles from slipping through and causing blockages. Regular maintenance not only extends the life of your sink strainer but also reduces the need for professional repairs.
With these simple tips, you can keep your drain clear and your sink functioning smoothly, all while being environmentally conscious.
Troubleshooting Common Issues During Sink Strainer Replacement
While replacing your sink strainer, you might run into common issues like leaks, difficulty fitting the new part, or stubborn debris blocking a proper seal. These problems can slow you down and be pretty frustrating.
To troubleshoot effectively, start with these tips:
- Address Drain Cloggings: If water isn’t draining properly after you install the new strainer, check for debris or old sealant blocking the drain. Clear away any obstructions to restore proper flow.
- Prevent Rust: Rust can form around the strainer if moisture gets trapped. Make sure the area is completely dry before installing, and consider using rust-resistant materials if possible.
- Achieving a Proper Seal: Leaks often happen because the gasket isn’t aligned correctly or is over-tightened. Loosen and readjust the strainer, making sure the rubber gasket is snug but not overly compressed to prevent leaks and ensure a tight seal.
Frequently Asked Questions
How Often Should I Replace My Kitchen Sink Strainer?
You should replace your kitchen sink strainer when it shows signs of wear, damage, or corrosion, usually every 1-2 years.
Think about the material—stainless steel strains tend to last longer than plastic ones.
Doing a quick cost comparison shows that investing in a high-quality, durable strainer might cost more upfront but can save you money in the long run by reducing how often you need to replace it.
Regular maintenance is also key. It helps extend the lifespan and keeps your sink working smoothly.
Can I Replace My Sink Strainer Without Professional Help?
Yes, you can replace your sink strainer without professional help. With some DIY installation, you’ll only need basic tools like pliers, a wrench, and a putty knife.
But beware—secrets lurk beneath the surface, and a small mistake can cause leaks. Carefully follow the instructions, and you’ll succeed.
Ready to uncover the hidden steps? Your new sink strainer awaits, and you’re just a few simple moves away from success.
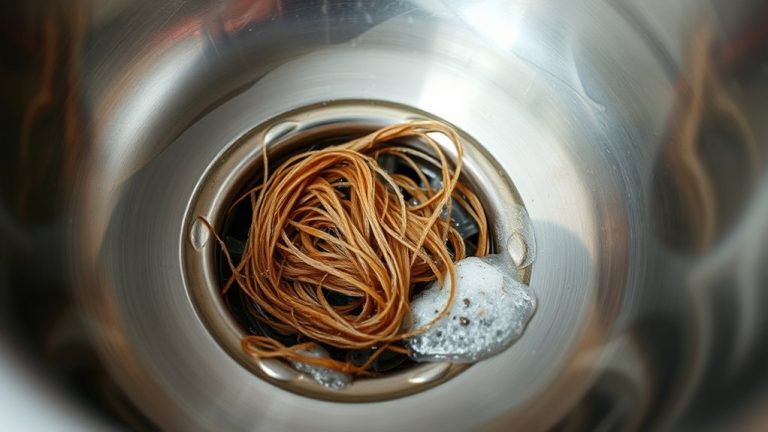
What Are Signs My Sink Strainer Needs Replacing?
You’ll know your sink strainer needs replacing if you notice frequent drain clogging or persistent foul odors.
When hair, food particles, or debris get trapped, it can cause clogs and bad smells that won’t go away with regular cleaning.
If cleaning doesn’t fix these issues, it’s a sign the strainer is worn out or damaged.
Replacing it will restore proper drainage and eliminate unpleasant odors effectively.
Is It Necessary to Use Plumber’s Putty During Installation?
Yes, using plumber’s putty during installation is necessary for a proper seal. It helps prevent leaks and keeps your sink strainer secure.
You’ll apply the plumber’s putty around the flange before setting it in the drain hole, making sure it’s watertight.
Skipping this step can lead to leaks and water damage. So, it’s an important part of the installation process for a durable, long-lasting seal.
Are There Eco-Friendly Options for Replacement Sink Strainers?
Yes, eco-friendly options for replacement sink strainers are available. You can pick strainers made from biodegradable materials that break down naturally, helping to reduce environmental impact.
Alternatively, look for strainers crafted from recycled metals. These repurpose existing resources and help lower your carbon footprint.
Choosing these options allows you to keep your kitchen sustainable while still ensuring good drainage. Switching to eco-friendly strainers is a simple way to support environmental conservation without sacrificing functionality.
Conclusion
Congratulations, you’ve successfully replaced your sink strainer—now you’re practically a plumbing wizard! Just imagine the envious glances from friends as they marvel at your DIY skills.
Soon, you’ll enjoy the sweet sound of water draining perfectly, without that pesky clog or leak. Pat yourself on the back—you’ve earned it!
Who knew a tiny sink strainer could turn you into a kitchen hero? Keep up the great work and enjoy your upgraded plumbing skills!