10 Steps to Snake a Kitchen Sink Like a Pro
Dealing with a clogged kitchen sink is one of those frustrating home problems everyone faces. You’re not alone—many people struggle with stubborn blockages that disrupt daily routines.
Luckily, snaking your sink doesn’t have to be a headache.
To snake a kitchen sink like a pro, start by diagnosing whether the clog is near the drain or deeper in the pipes. Gather the right tools, like a drain snake, gloves, and a flashlight, and clear your workspace to stay safe.
Insert and turn the snake carefully to break up the blockage.
Once cleared, run water to check flow. If issues persist, you’ll find useful tips to prevent future clogs and know when to call an expert.
Key Takeaways
- First, figure out if the clog is local or deep by watching how the water drains, and remove the trap if needed.
- Grab your tools like a drain snake, gloves, flashlight, and a bucket before you start.
- Clear the area around the sink and protect your surfaces with cloths or towels to keep things tidy.
- Gently insert and turn the snake into the drain, applying steady pressure to break up the clog.
- Once you’ve cleared the blockage, run warm water and check that everything drains smoothly.
- To prevent future clogs, consider using drain covers or regularly flushing with hot water or a baking soda and vinegar mix.
How to Diagnose the Cause of Your Sink Clog
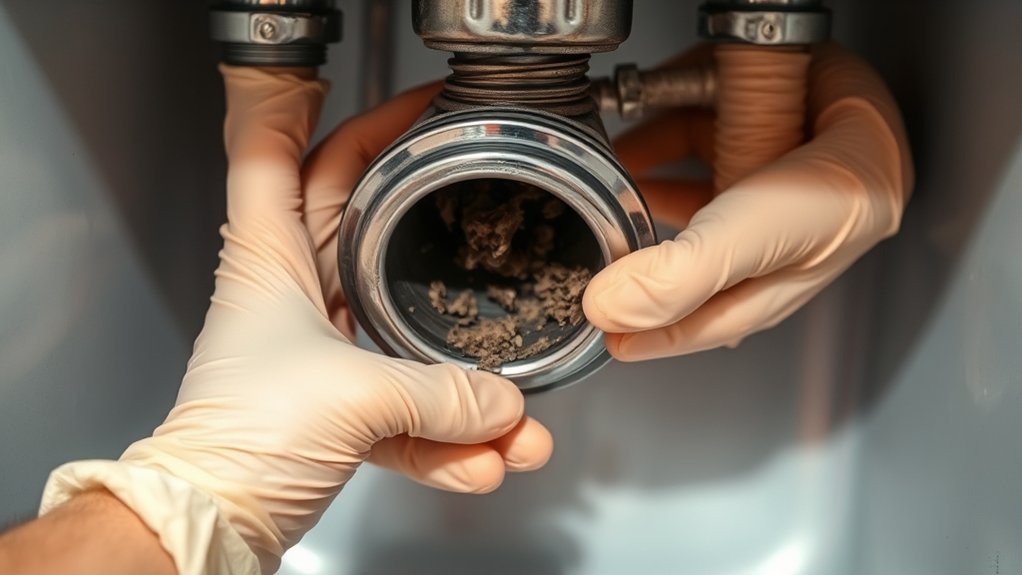
Before you try to snake your kitchen sink, it’s important to figure out what’s causing the clog. Poor kitchen design, like improper pipe slopes or limited access points, can lead to frequent blockages.
Check if the clog is localized or affecting the whole sink. This helps you figure out if it’s just a buildup or a bigger pipe problem. Also, review your appliance maintenance habits because grease, food debris, and soap scum can cause slow drains.
Look for signs like standing water or slow drainage, which point to specific issues. If you notice persistent odors or water backing up, it could be a deeper plumbing problem.
Understanding the root cause saves you time and helps prevent unnecessary damage. By analyzing your kitchen setup and keeping up with maintenance, you can better diagnose the issue before snaking your sink.
What Tools Do You Need to Snake Your Sink?
To snake your sink properly, you’ll want to have a few key tools. The main one is a drain snake or auger—it’s pretty much the go-to tool for tackling stubborn clogs.
You might also find it helpful to have some optional accessories around, like gloves to keep things clean and a flashlight to see what you’re working on better.
Having the right tools handy makes the whole process smoother and helps you clear out those clogs quickly and confidently.
Essential Snake Tools
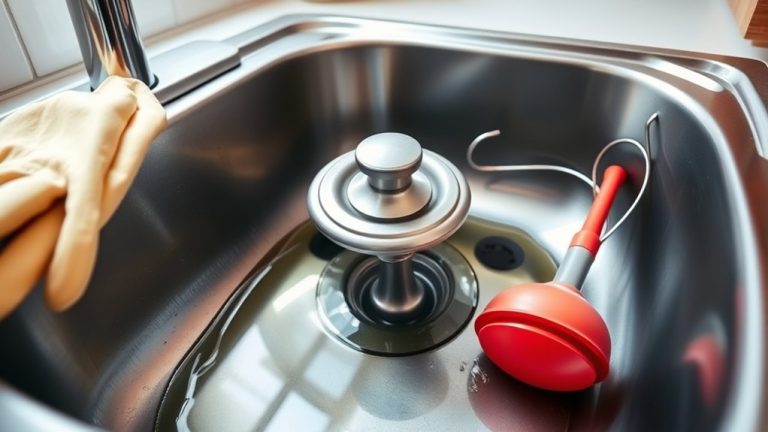
Having the right tools makes snaking your kitchen sink much easier and more effective. When tackling clogs, make sure you have a sturdy drain snake or auger that can reach deep into the pipes.
This tool is essential for breaking through tough blockages without damaging the sink or affecting its decor and aesthetics. Furthermore, a pair of pliers helps grip and maneuver the snake, while a bucket or container catches water and debris.
Proper gloves protect your hands, and a flashlight can help you see inside the pipes clearly. Using quality tools not only simplifies the process but also preserves your sink’s appearance.
Optional Accessories
While a basic drain snake is essential, adding a few optional accessories can make your drain maintenance easier and cleaner. These tools help you reach stubborn clogs and prevent messes.
| Tool | Purpose | Benefit |
|---|---|---|
| Auger Attachments | Extend snake reach | Access deep blockages |
| Gloves | Protect hands | Keep clean during work |
| Rags or Towels | Catch drips and mess | Maintain a tidy workspace |
Using plumbing tools like these minimizes frustration and reduces the risk of damaging your pipes. Optional accessories streamline your snake job, making drain maintenance more efficient and less messy.
Always consider these extras for a smoother, more professional approach.
How to Prepare Your Workspace for Safe Snaking
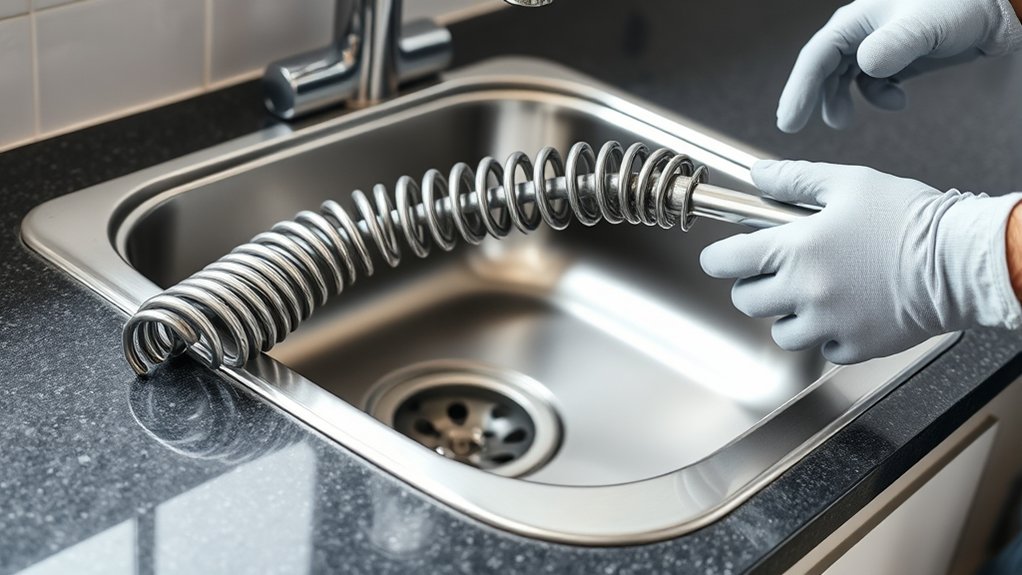
Before you start snaking the sink, clear out the area around your workspace. A tidy space helps prevent accidents and keeps your tools within reach. Make sure to remove any kitchen decor items or appliances near the sink that could get in the way or get damaged during the process. Taking a few minutes to prepare now saves you headaches later.
Cover nearby cabinets or flooring with a cloth to protect against water splashes or debris. Gather all necessary tools, including gloves, a flashlight, and the drain snake, so everything is ready. Check your appliance maintenance supplies, like pliers or a bucket, to handle any leaks or messes quickly.
A clean, organized workspace promotes safety and efficiency, so you can focus on snaking the drain without distractions or hazards. Proper preparation makes the process smoother and helps you avoid unnecessary damage to your kitchen decor.
Step-by-Step: How to Insert and Turn a Drain Snake
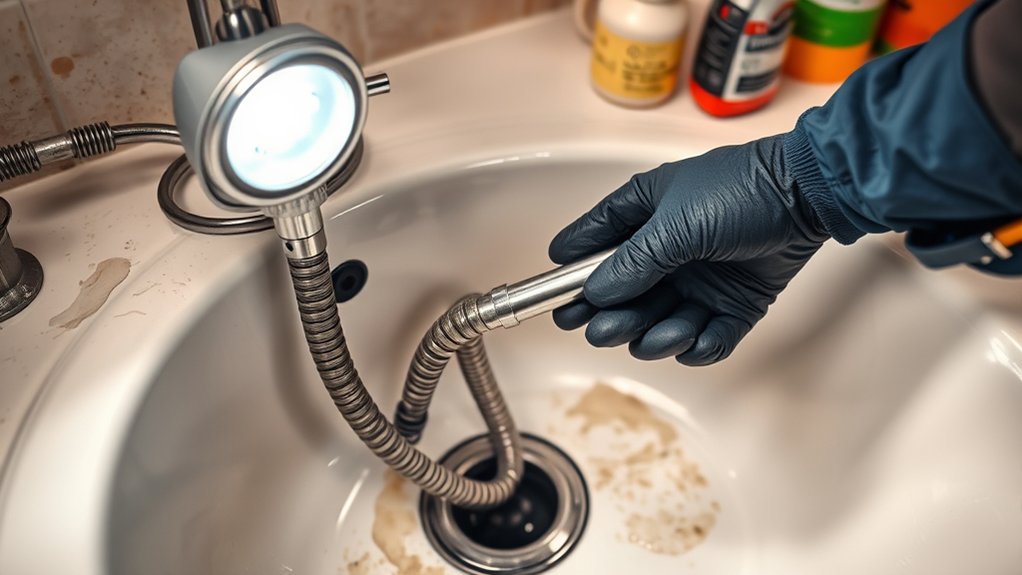
To insert the drain snake properly, start by feeding the tip of the cable into the drain opening. Gently push it in until you feel resistance, which means you’ve reached the clog.
Keep a steady, firm pressure as you turn the handle clockwise. This helps the cable move through the pipe more effectively. If you’re worried about eco-friendly options, choose manual drain snakes instead of chemical cleaners, which can damage your plumbing and harm the environment.
Apply steady, firm pressure while turning clockwise to effectively navigate the drain snake and avoid damage.
As you rotate, the snake will break up or hook onto the clog, allowing you to pull it out. If you feel resistance, don’t force it. Instead, try turning back slightly and then pushing forward again.
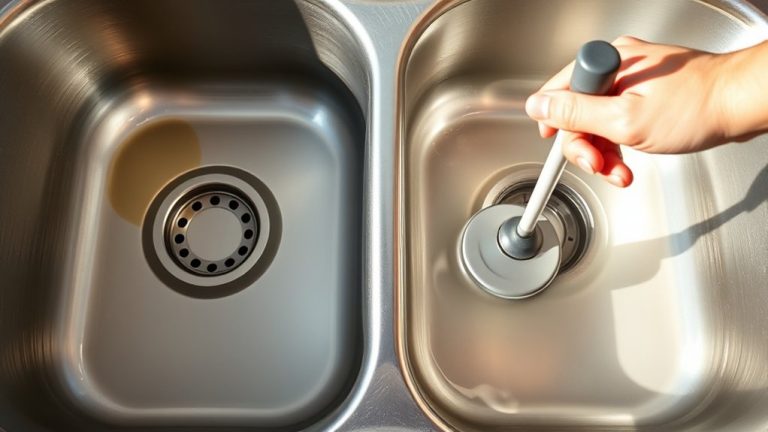
Other methods like plungers or natural enzymatic cleaners can also work well if you’re cautious about using aggressive tools. With patience and gentle twisting, you’ll gradually get the snake through the pipe and clear the blockage safely and effectively.
When to Try Chemical Drain Cleaners or Other Methods
Sometimes, traditional methods like snaking or plunging just won’t clear stubborn clogs, especially if the blockage is deep or caused by a buildup that’s hard to dislodge. In these cases, it might be time to consider chemical drain cleaners or other drain cleaning options.
Chemical alternatives can work well for minor clogs caused by grease or soap scum but should be used carefully to avoid damaging pipes or fixtures. You should try chemical drain cleaning if the clog is recent and not too severe.
If snaking or plunging has already been attempted without success, and you’re comfortable handling potentially hazardous substances, it might be worth trying chemicals. However, avoid using them if the blockage is persistent or severe.
Chemical drain cleaners might not work on tough blockages and can harm your plumbing over time. In some cases, it’s better to explore mechanical or professional drain cleaning methods instead.
How to Remove the Snake and Clear the Clog Safely
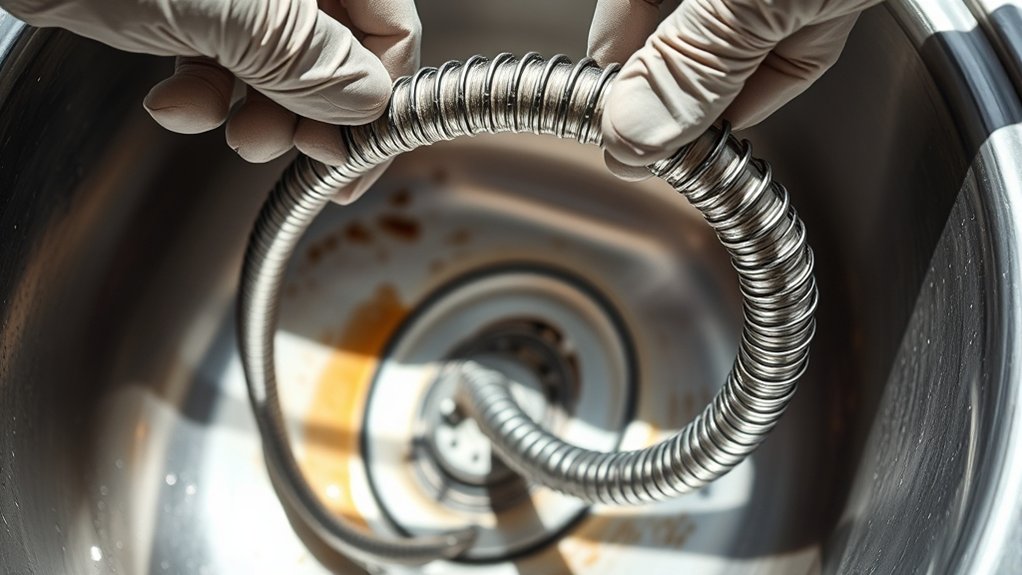
Once you’ve dislodged the clog with your snake, it’s important to remove the tool carefully to avoid pushing debris further down the pipe. Grip the snake firmly and slowly pull it out, maintaining control so you don’t splash or drop debris into the drain.
As you remove the snake, check it for any caught debris and clear it away. Rinse the snake with water to keep it clean for next time.
After taking out the tool, run warm water through the drain to flush out any remaining loosened debris. This step is key for proper maintenance and helps keep your kitchen sink working smoothly.
A clean sink also prevents unpleasant odors or stains caused by clogs. Be cautious during this process and wear gloves if needed.
Proper removal of the snake keeps you safe and ready for the next step in maintaining a clear, well-functioning kitchen sink.
How to Check if the Clog Is Fully Cleared
After removing the snake and flushing the drain, it’s important to verify that the clog is fully cleared before finishing up. Turn on the faucet and watch how the water flows.
Ensure the clog is gone by running water and observing smooth flow without pooling or unusual sounds.
If it drains smoothly without pooling or slow drainage, you’ve likely cleared the clog. Listen for any unusual sounds that could mean leftover debris.
Check for any foul odors that might suggest residual blockage or buildup. Finally, inspect the sink and surrounding area for leaks or water stains to ensure your work was successful.
To be extra sure, try running hot water for a few minutes. This helps clear out any minor residues. A clean, functional kitchen sink makes your space look tidy and well-maintained.
Regular checks can prevent future blockages, saving you time and effort. If the problem persists, it might be time to revisit your clog removal process or call in a professional.
Tips to Prevent Future Sink Blockages
To prevent future sink blockages, adopt simple habits that keep your drain clear and working well. First, avoid pouring grease or oil down the drain because they solidify and can cause clogs.
Use a drain strainer to catch food scraps and debris. This helps reduce buildup over time and keeps your pipes flowing smoothly. Incorporate regular flushing with hot water or a mix of baking soda and vinegar to naturally clean the pipes.
Organize your kitchen to support these habits. For example, keep a small trash bin nearby for food waste. Also, try cooking tips that minimize waste going down the drain to avoid future problems.
Troubleshooting Common Snaking Problems
When you’re snaking your sink, figuring out exactly where the clog is can really save you a lot of time and hassle. It’s also super important to pick the right tool for the job, especially if the blockage is stubborn or deep down.
And if the clog just won’t budge, don’t worry—there are ways to clear it out effectively without risking damage to your pipes. Just take it slow, and you’ll get that drain flowing smoothly again.
Identifying Blockage Location
Before you start snaking your kitchen sink, it’s important to figure out exactly where the blockage is. Pinpointing the spot saves you time and prevents unnecessary work.
Start by looking for obvious signs like slow draining or bad odors. You can also do simple tests, like running water while removing the trap to see if it’s clogged. For eco-friendly options, try using baking soda and vinegar first—they can sometimes clear minor blockages.
Pay attention to whether the clog is closer to the drain opening or further down the pipe. Common signs include gurgling sounds or water backing up. Knowing where the problem is helps you target your snaking better and avoid damaging your pipes.
Choosing Proper Equipment
Choosing the right equipment is key to effectively clearing your kitchen sink without causing damage. The proper tools help you handle clogs efficiently while protecting your kitchen decor and appliances.
Use a plumber’s snake suited for your drain size. A snake that’s too large or too small can make the problem worse.
| Tool Type | Use Case | Tip |
|---|---|---|
| Manual Snake | Light to moderate clogs | Apply steady pressure to avoid pipe damage |
| Auger Kit | Stubborn blockages | Pick the right size for your pipes |
| Drain Cleaner Brush | Small debris or hair | Clean regularly to prevent buildup |
Choosing the correct equipment keeps your sink working smoothly and helps you avoid costly repairs.
Clearing Persistent Clogs
Persistent clogs can be frustrating, especially when your initial snaking efforts don’t do the trick. If the clog remains, try these troubleshooting tips.
First, consider eco-friendly options like baking soda and vinegar to naturally break down debris.
Second, make sure you’re using the right size of auger or snake for your sink to avoid damage.
Finally, perform DIY maintenance by checking the trap and removing visible blockages manually.
Sometimes, buildup deep within the pipes needs multiple attempts or a combination of methods.
Remember, patience is key.
If the clog persists, professional help might be necessary, but these steps can often clear stubborn obstructions effectively without harsh chemicals.
Keep your approach eco-conscious and methodical for the best results.
When to Call a Professional Plumber for Your Sink
Sometimes, despite your best efforts, a clogged sink just won’t budge. If you’ve tried snaking it yourself, checked your appliance maintenance routines, and your kitchen decor still shows signs of a stubborn blockage, it’s time to call a professional plumber.
Persistent clogs often indicate deeper issues, like broken pipes or severe buildup, that require expert tools and experience. Don’t delay, especially if water is backing up or flooding your sink area.
Attempting to force through these problems can cause more damage or lead to leaks. When your efforts don’t resolve the issue, a licensed plumber can diagnose the root cause efficiently.
Remember, knowing when to seek help guarantees your kitchen stays functional and your decor stays intact. Sometimes, trusting the pros not only saves you time but also prevents costly repairs down the line.
Prioritize safety and expert advice when your DIY methods hit a wall.
Frequently Asked Questions
Can I Snake a Kitchen Sink Without Turning off the Water Supply?
You can snake a kitchen sink without turning off the water supply, but it’s risky. When you work with water flow active, water may splash or push debris further down the pipe, possibly causing pipe damage.
Be cautious, especially if you notice persistent clogs or leaks. If you’re unsure, shutting off the water guarantees safety and prevents further damage.
It makes the process smoother and helps avoid costly repairs. So, while it’s possible, turning off the water is usually the safest choice.
How Long Should I Leave the Drain Snake Inside the Pipe?
You should leave the drain snake inside the pipe for about 2 to 3 minutes during drain cleaning. This gives the snake enough time to break up or grab any debris causing the clog.
Keep steady pressure and rotate the snake slowly. For effective pipe maintenance, avoid rushing.
Once you feel resistance, release it and slowly pull out the snake. This process helps ensure thorough cleaning and can prevent future clogs.
Are There Specific Types of Drain Snakes for Different Clog Types?
Yes, different clog types require specific tools. For greasy clogs, use an auger with a flexible cable to break down fat buildup.
For hair clogs, opt for a narrow, coiled snake designed for hair entanglement.
For stubborn, solid blockages, a power auger provides extra force.
Always select suitable tools for each clog type to guarantee effective clearing, prevent pipe damage, and make your job easier.
What Safety Precautions Should I Take When Using a Drain Snake?
When using a drain snake, always wear protective gear like gloves and goggles to shield against chemical hazards and debris. Keep your hands away from the moving parts, and work in a well-ventilated area to avoid inhaling fumes.
Never force the snake, and disconnect the power if you’re using an electric model. These precautions help prevent injuries and exposure to potentially harmful substances during the process.
How Often Should I Snake My Kitchen Sink to Prevent Clogs?
You should snake your kitchen sink every 6 to 12 months to keep your pipes healthy and avoid clogs. Regular maintenance with a drain snake helps break down buildup before it gets worse.
If you notice your sink draining slowly or see minor blockages, don’t wait. Snaking sooner can help you avoid bigger problems down the line.
Sticking to a regular schedule for drain snaking keeps your sink clear and working smoothly over time.
Conclusion
Mastering these 10 steps means you can confidently tackle sink clogs, saving you both time and money. Did you know that over 90% of drain issues are fixable with just a few simple tools and techniques?
By learning how to snake your kitchen sink like a pro, you’ll avoid costly repairs and prevent future blockages. Keep these tips in mind, and your sink will flow smoothly without needing professional help.
When you master the art of snaking your kitchen sink, you’re taking control of common drain problems. It’s easier than you think and can save you a lot of hassle.