Step-by-Step Guide to Install a Kitchen Sink Strainer in Cast Iron
Many homeowners find installing a kitchen sink strainer in cast iron to be a daunting task. You’re not alone—this job can feel tricky, especially if you’re not familiar with plumbing. But with a little patience and the right steps, you can do it yourself and save money.
To install a kitchen sink strainer in cast iron, start by turning off the water and removing the old one carefully. Measure the drain opening to choose a compatible strainer, then clean and dry the area thoroughly.
Apply plumber’s putty or silicone sealant around the flange, insert the strainer, and tighten the locknut securely without overtightening. Connect the drain pipes, then test for leaks and proper drainage.
Following these steps will help you install your strainer confidently; continue to get all the details to guarantee a perfect fit.
Key Takeaways
- Measure the drain opening carefully and pick a cast iron sink strainer that fits well.
- Clear the workspace and clean the sink surface to avoid any damage during the installation.
- Spread sealant evenly around the flange, then insert the strainer into the drain opening and secure it with a locknut.
- Make sure everything lines up properly, including the gasket, and tighten the fittings without overtightening.
- Test for leaks by running water, then tighten or replace any parts that need it.
- Keep the strainer clean regularly to maintain its performance.
Signs You Need a New Kitchen Sink Strainer
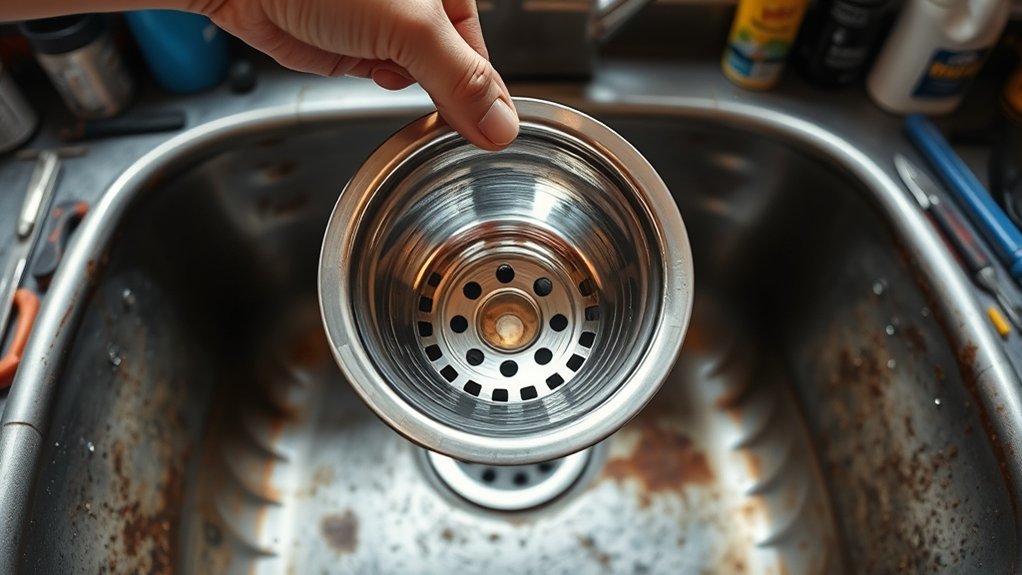
Over time, your kitchen sink strainer can show signs of wear and tear that mean it’s time to replace it.
If you notice persistent clogs or slow drainage, your current strainer might be blocked or damaged.
Cracks or rust spots are clear signs of deterioration that could lead to leaks or contamination.
Cracks and rust indicate deterioration, risking leaks and contamination in your sink.
You might also see buildup around the edges, which can affect how your sink looks and how well it works.
When your sink isn’t draining properly, it can make your space look unkempt and disrupt your kitchen decor.
A faulty strainer can also let debris fall into your pipes, making cleaning and organization more difficult.
Regularly inspecting your sink’s parts helps you catch problems early.
If you’re constantly cleaning out trapped debris or dealing with bad odors, it’s probably time to replace your strainer.
Staying proactive keeps your sink working smoothly and helps your kitchen stay looking nice.
Understanding Cast Iron Sinks and Their Features
Cast iron sinks are known for their durability and timeless style, making them a favorite in many kitchens. Their toughness means they can handle daily use without chipping, cracking, or denting over time. This ensures your sink stays functional and looks great for years.
They also add a touch of elegance that can elevate your kitchen’s overall look. With various finishes and styles, from traditional to modern, you can easily match your decor. The heavy, solid build gives a feeling of quality and stability, which many homeowners appreciate.
Just keep in mind, cast iron sinks are heavy and need proper support during installation. Their smooth, glossy surface is easy to clean and resistant to stains, making maintenance simple. Overall, understanding these features helps explain why cast iron sinks are a reliable and attractive choice for your kitchen.
Gather the Tools and Materials Needed for Installation
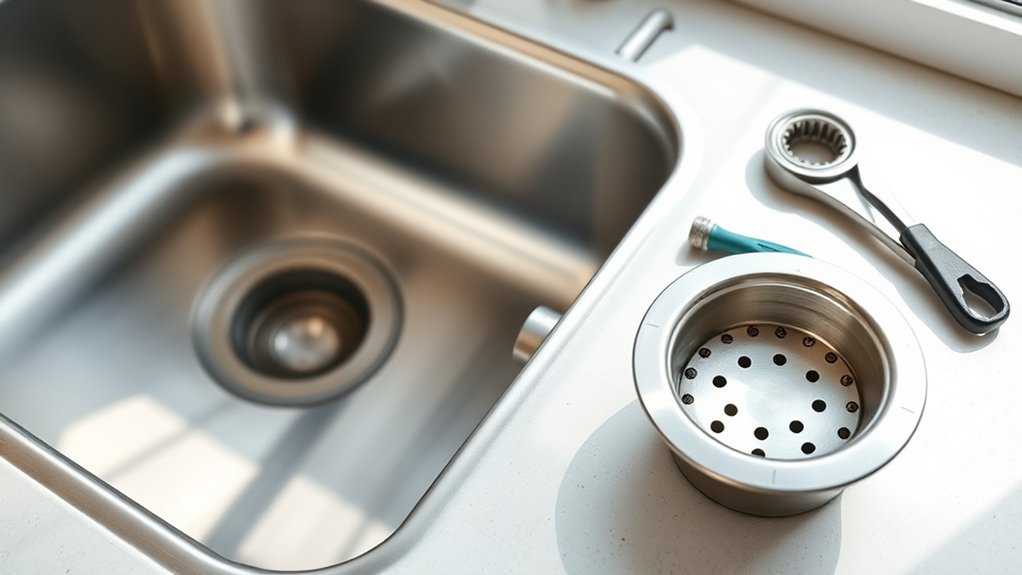
Before you get started, it’s a good idea to gather everything you’ll need for the installation. Make sure you have all the essential tools, the right replacement parts, and any personal protective gear. For tools, a wrench is a must, along with plumber’s putty to help seal things up properly. Don’t forget to pick out the correct size strainer so everything fits just right.
And of course, safety first! Be sure to wear gloves and safety glasses to protect yourself while you’re working. Having everything ready beforehand will make the process much smoother and more enjoyable.
Essential Tools Checklist
To successfully install a kitchen sink strainer in a cast iron sink, you’ll need to gather several essential tools and materials. Having the right equipment makes the process smoother, just like using proper cooking techniques in your kitchen.
Focus on tools that match your kitchen design to ensure an efficient workflow and a neat finish. These tools will help you manage the installation with confidence.
- Adjustable wrench: Essential for tightening fittings securely.
- Plumber’s putty: Creates a watertight seal around the strainer.
- Pipe wrench: Helps handle stubborn connections and ensure everything fits perfectly.
With these tools, you’ll be able to streamline the task and achieve a professional look. Properly equipped, your cast iron sink will be both functional and visually appealing, just like a well-planned kitchen.
Necessary Replacement Parts
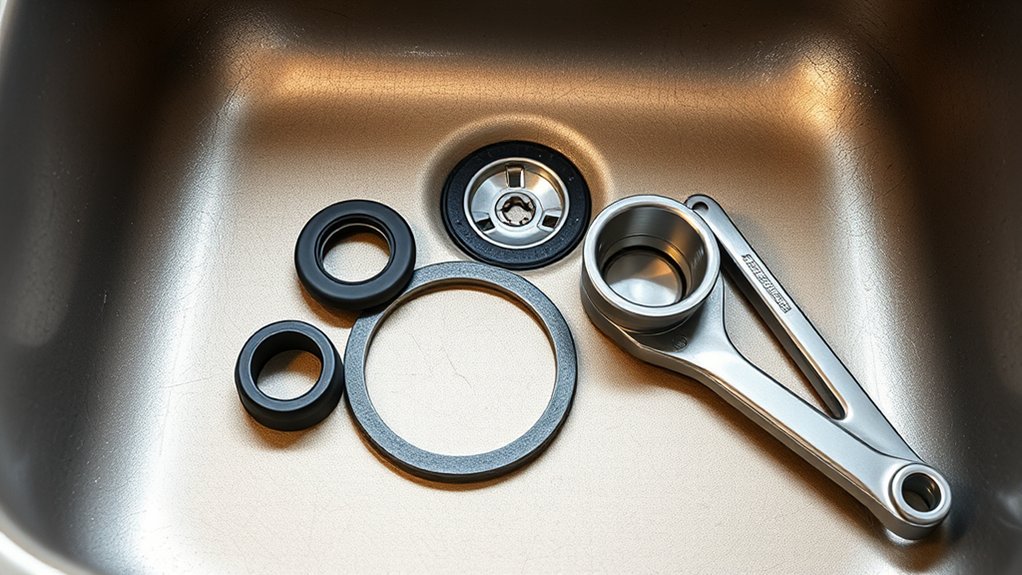
Gathering the right replacement parts is key to a smooth sink strainer installation. You’ll need a compatible cast iron sink strainer, a new rubber gasket, and a locknut to secure it in place. Make sure the parts match your sink’s size and style to avoid leaks.
It’s also helpful to have some cleaning tips in mind. Clean the surrounding area thoroughly before installation to prevent debris from affecting the seal. While working on your sink, consider how the new strainer complements your kitchen decor—choosing finishes that blend seamlessly with your fixtures.
Having all these parts ready saves time and reduces frustration. Double-check that you have the correct tools as well so everything fits perfectly during installation.
Personal Protective Equipment
Since working with a cast iron sink can involve sharp edges and potential hazards, it’s essential to wear the right personal protective equipment (PPE) to stay safe during installation. Proper safety gear helps prevent cuts, bruises, and other injuries.
You should wear protective clothing that covers your skin, such as long sleeves and gloves, to minimize exposure to sharp surfaces. Wearing gloves and goggles provides extra protection, especially when working with cast iron’s rough surfaces or during drilling and cutting.
Safety gear is vital for preventing injuries and ensuring safe handling of tools and materials. Safety goggles protect your eyes from debris or accidental splashes.
Prepare Your Workspace and Protect Your Cast Iron Sink
Before you start working on your cast iron sink, it’s important to prepare your workspace and protect the surface from scratches and damage. Clear the area around the sink, removing any tools, cleaning supplies, or clutter that could get in your way.
Use soft cloths or padding to cover the sink’s surface, preventing accidental scratches or chips. When cleaning the sink, stick to gentle techniques that preserve the material’s durability; avoid harsh abrasives that can cause damage over time.
Protecting your workspace makes the installation process smoother and keeps your cast iron looking its best. Remember, cast iron is tough but still vulnerable to scratches and dents if mishandled.
Taking these precautions helps maintain the sink’s appearance and extends its lifespan. Proper preparation saves you time and reduces the risk of costly damage during your project.
Measure and Choose the Right Kitchen Sink Strainer
When you’re picking out a kitchen sink strainer, the first thing to do is measure your drain opening carefully. This way, you’ll make sure it fits just right. It’s a simple step that can save you a lot of hassle later on.
Next, think about the material of the strainer. You want something that matches your cast iron sink to avoid any corrosion or damage down the line. Picking the right material not only helps your sink look good but also makes sure your strainer lasts longer and works effectively.
Proper Sizing Matters
Getting the right size for your kitchen sink strainer is key to ensuring a proper fit and good drainage. An ill-fitting strainer can lead to leaks or blockages, messing up your kitchen look and workflow.
To pick the right one, measure the drain opening carefully before you buy. Make sure the size matches your cast iron sink’s dimensions for both function and style.
Proper sizing keeps your kitchen decor looking seamless and prevents water from leaking or pooling around the edges, which can cause messes.
Choosing the right size also makes installation easier, saving you time and frustration. Always double-check your measurements and compare them with product specs to find the perfect fit for your sink.
Material Compatibility Considerations
Ensuring your kitchen sink strainer is made from compatible materials is essential to prevent corrosion, staining, or damage over time. When choosing a strainer, focus on material durability to handle daily use, water, and cleaning agents.
Look for options with strong corrosion resistance, especially if you have a cast iron sink that’s prone to rust. Metal strains like stainless steel or brass usually offer better durability and resistance than plastic ones.
Make sure the strainer’s material matches or is compatible with your cast iron sink to avoid galvanic corrosion or staining. Investing in high-quality, corrosion-resistant material helps your sink last longer and stay looking good.
This also makes your installation more reliable and long-lasting, giving you peace of mind knowing your sink is protected.
Apply Sealant and Install the New Strainer
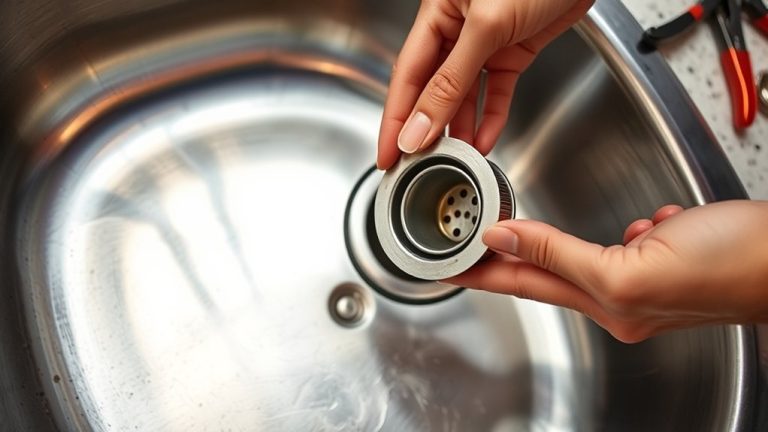
Before installing the new strainer, it’s essential to apply a generous bead of sealant around the underside of the flange. This creates a watertight seal, preventing leaks and water damage. Use a high-quality, compatible sealant designed for cast iron to ensure durability.
When applying the sealant, work steadily to maintain an even bead, avoiding gaps or gaps. Proper installation involves pressing the strainer firmly into place so the sealant spreads evenly.
Remember these key points:
- The sealant must cover all contact surfaces for a reliable seal.
- Applying consistent pressure during installation helps prevent gaps or air pockets.
- Allow the sealant to cure as recommended before testing for leaks.
Position the Strainer Properly and Secure It
After applying the sealant and pressing the strainer into place, make sure it’s positioned correctly. Proper positioning helps ensure a snug fit and prevents leaks.
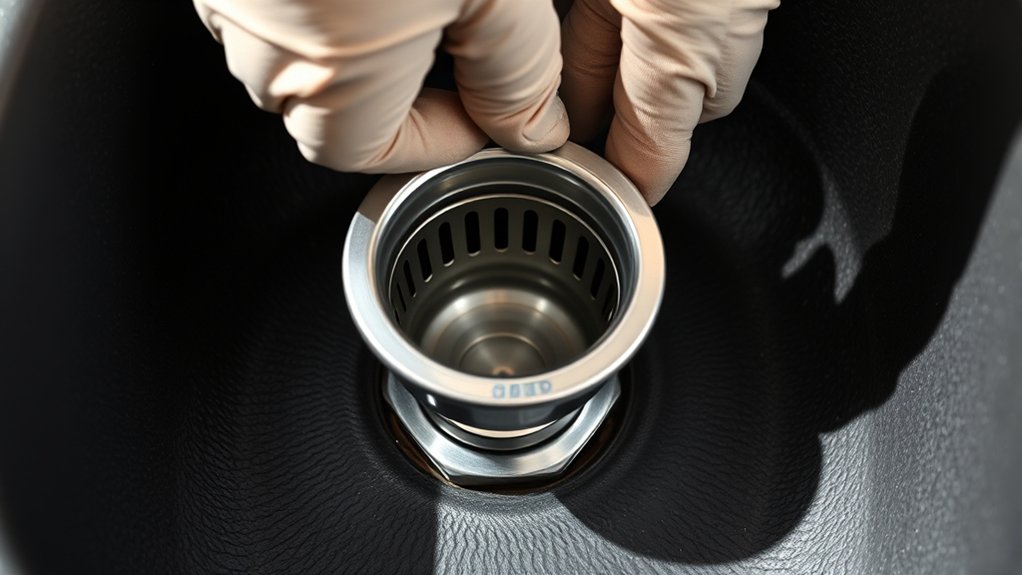
Check that the flange sits evenly against the cast iron surface with no gaps or tilts. This step is key to securing the fixture properly.
Ensure the flange sits evenly against the cast iron surface for a secure, leak-proof fit.
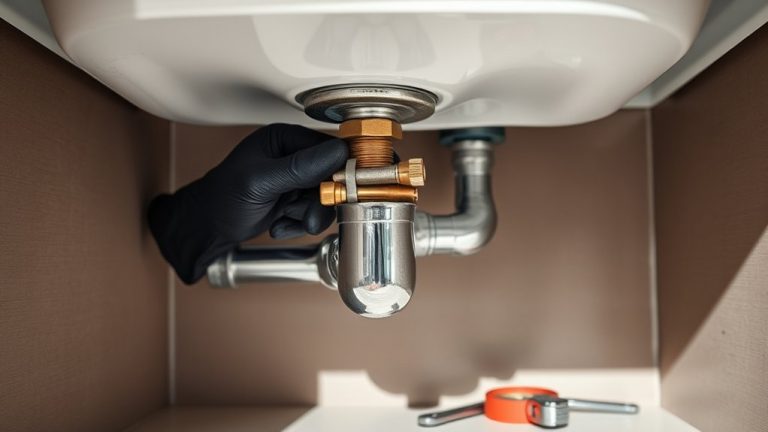
Once you’re happy with the placement, tighten the locknut underneath the sink using a wrench. Turn it clockwise but be careful not to overtighten, as that can damage the cast iron.
As you tighten, keep an eye on the strainer to ensure it stays centered and flush against the sink surface. Proper securing prevents movement and leaks over time.
Double-check the alignment before fully tightening everything. When the strainer feels firm and is correctly positioned, you’ve completed this step.
Now you’re ready to connect the drainage parts for a leak-free fit.
Connect Drainage Parts for a Leak-Free Fit
To make sure your drainage parts fit without any leaks, it’s really important to line up everything properly. Take your time to get the pieces aligned just right before you connect them.
Once everything is in place, apply the sealant evenly around the joints. Just follow the manufacturer’s instructions to get the best results. Doing this helps create a tight, secure connection that keeps leaks and other problems at bay.
Proper Alignment Techniques
Ensuring proper alignment of drainage parts is key to a leak-free fit when installing your kitchen sink strainer in cast iron. Misalignment can lead to leaks, especially around decorative finishes or when using materials that aren’t as forgiving.
To get the positioning right, carefully line up the strainer flange with the drain opening. Make sure all gaskets and washers sit evenly before tightening. Tighten fittings gradually and check for even contact as you go.
Proper alignment also helps prevent damage to delicate finishes or materials. Remember, accurate positioning reduces rework and ensures a secure, leak-proof connection.
Confirm gasket placement before tightening, and use a level or straightedge for precise alignment. Adjust fittings gently to avoid damaging finishes or materials.
Sealant Application Methods
Applying sealant properly is essential to prevent leaks when connecting drainage parts. First, choose the right sealant type, like plumber’s putty or silicone caulk, suitable for cast iron.
Before applying, make sure all surfaces are clean and dry. Use a caulking gun or your finger to spread an even bead of sealant around the drain’s lip or joint area.
When connecting the drain components, press them firmly into place so the sealant spreads evenly. For extra security, smooth out any excess with a damp cloth or tool.
Proper technique involves avoiding too much sealant, which can cause clogs, and making sure the bead is continuous and even. This helps create a leak-free, durable seal and makes future disassembly easier if needed.
Test Your Installation for Proper Drainage and Leaks
After completing the installation, it’s crucial to test your sink thoroughly. Run water into the basin and watch how it drains, checking for slow flow or standing water that might mean a blockage.
Carefully inspect the area around the strainer for any leaks. Tighten fittings if needed to prevent water damage and keep your kitchen looking great. Proper drainage not only makes your sink work better but also helps save water by stopping leaks.
Testing for leaks early on can help you catch issues before they become bigger problems. This protects your cast iron sink from corrosion or damage down the line. A well-sealed installation supports water conservation and keeps your kitchen looking pristine.
Make sure water flows smoothly to avoid waste and promote efficiency. Also, confirm there are no leaks around the strainer to maintain the appearance and integrity of your kitchen. Properly sealing the drain ensures lasting durability and supports your overall kitchen aesthetic.
Troubleshoot Common Problems During Installation
Even with careful installation, you might run into some common issues that can disrupt your sink’s performance. Leaks, slow drainage, or a loose strainer are typical problems. To troubleshoot, visualize your situation:
| Issue | Solution |
|---|---|
| Leaking around the strainer | Tighten connections or replace worn gaskets. |
| Slow drainage | Clear any debris or blockages in the drain pipe. |
| Strainer feels loose | Adjust or tighten the locking nut securely. |
| Unpleasant odors | Regularly clean the strainer and use cooking tips to prevent buildup. |
Address these problems quickly to keep your kitchen looking its best. Remember, a well-installed sink not only looks good but also drains smoothly. Proper troubleshooting helps keep your cast iron sink functional and your kitchen running efficiently, making your cooking tips easier and less hassle.
Frequently Asked Questions
Can I Install a Kitchen Sink Strainer Myself Without Professional Help?
Like a seasoned sailor steering through stormy waters, you can definitely handle DIY plumbing if you have the right tool essentials.
Installing a kitchen sink strainer yourself is doable with patience and some basic skills. Just follow clear instructions, and don’t forget to turn off the water supply.
With a steady hand and attention to detail, you’ll master this task without needing professional help, saving money and gaining confidence.
What Are the Common Types of Kitchen Sink Strainers Compatible With Cast Iron?
You’ll find that stainless steel and brass strainers are most compatible with cast iron sinks, offering durability and preventing drain blockage. These materials resist corrosion and fit securely, reducing the risk of leaks.
When choosing a strainer, make sure it’s designed specifically for cast iron to avoid any compatibility issues. Regular cleaning of your strainer helps prevent drain blockages and keeps your sink working smoothly.
How Long Does It Typically Take to Install a Sink Strainer?
It usually takes around 30 minutes to install a sink strainer, but it depends on your experience level.
You’ll need basic tools like pliers, a wrench, and plumber’s putty to get the job done.
The process is pretty straightforward: start by preparing the area, then fit the strainer, seal it properly, and tighten everything securely.
With the right tools and some patience, you can complete the installation quickly and ensure a leak-free, durable connection.
Is Any Special Maintenance Required After Installing a New Strainer?
After installing your new strainer, set a regular cleaning schedule to prevent buildup and clogs.
Inspect for leaks periodically to catch any issues early.
Clean the strainer and surrounding area with mild soap and water every few weeks.
Checking for leaks monthly helps ensure everything stays secure and working properly.
This routine maintenance keeps your cast iron sink in top shape and helps prevent costly repairs.
What Safety Precautions Should I Follow During Installation?
Think of installation like walking a tightrope—you need balance and focus. First, pick the right tools, like a wrench and plumber’s putty, so you don’t slip.
Always wear safety gear, such as gloves and eye protection, to protect against sharp edges and splashes. Keep your workspace organized and stay alert for hot water or chemicals.
Prioritizing safety makes the installation smoother and accident-free. That way, you can confidently finish your project without worries.
Conclusion
Now that you’ve completed the steps, your cast iron sink is ready with its new strainer, acting as a reliable guard against clogs.
Think of this installation as building a sturdy bridge—strong, seamless, and built to last. Your careful work has turned a simple task into a practical upgrade.
Enjoy the smooth flow of water and the peace of mind knowing your cast iron sink is secure, ready to serve for many years to come.