9 Simple Steps to Remove Kitchen Sink Drain
Dealing with a clogged or stubborn kitchen sink drain can be such a hassle, and you’re not alone in feeling overwhelmed by the process. Many people struggle with figuring out how to remove and clean their sink drain properly.
Luckily, with a few simple steps, you can tackle this task yourself and get your sink flowing smoothly again.
To remove your kitchen sink drain, start by turning off the water supply and clearing the area. Remove the drain stopper and clear any obstructions.
Use a wrench to loosen and detach the drain connections, including the P-trap. Be sure to place a bucket underneath to catch water.
Clean all parts thoroughly, then reassemble, tightening fittings securely.
Finally, check for leaks and learn more tips to keep your drain running smoothly if you continue on.
Key Takeaways
- Turn off the water supply and clear the area around the sink.
- Remove the drain stopper and clear any debris or buildup inside.
- Place a bucket under the P-trap, then loosen and remove it carefully.
- Inspect, clean, and check all drain components for damage or corrosion.
- Reassemble the drain parts, tighten fittings, and test for leaks.
Why Removing Your Kitchen Sink Drain Yourself Can Save Money
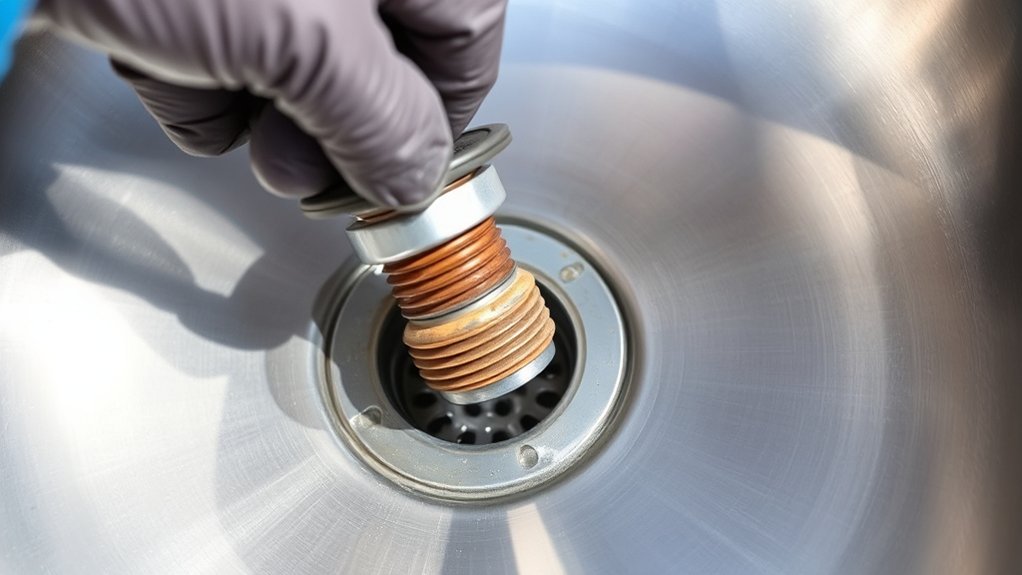
Removing your kitchen sink drain yourself can save you a significant amount of money on plumbing repairs. Hiring a plumber for drain cleaning and repair can cost hundreds of dollars, especially for minor clogs or leaks. By doing it yourself, you eliminate labor charges and gain control over the process.
Plus, you get the satisfaction of tackling the job and learning new skills. When you remove the drain yourself, you understand exactly what needs fixing or cleaning, preventing unnecessary replacements. Just remember, plumbing safety is essential—use the right tools and wear gloves to avoid injury.
Properly removing and cleaning the drain also helps prevent future clogs and backups, saving you more money in the long run. Taking the DIY route means you can address minor issues immediately without waiting for a professional.
Gather the Tools and Materials You Need
Before you dive in, make sure you’ve got all the tools you’ll need. Things like a wrench, pliers, and a bucket are must-haves to get the job done smoothly. It’s always better to have everything ready to go rather than scrambling for tools halfway through.
You’ll also want to gather any replacement materials, like a new drain gasket or some sealant. Having these on hand means you won’t have to stop in the middle of your work to run out and get what you forgot. Being prepared helps keep everything moving along without unnecessary delays.
Essential Tools for Removal
To successfully remove your kitchen sink drain, you’ll need a few essential tools and materials. Start with a plumber’s wrench or adjustable pliers to loosen nuts, and a drain snake or plunger for clearing clogs if needed.
You might also need a bucket to catch water and a rag for cleanup. Don’t forget a flashlight to see tight spots and rubber gloves for plumbing safety.
Proper tool maintenance guarantees your tools stay effective and safe to use. Before starting, check your tools for rust or damage.
Having the right tools ready makes the process smoother and reduces the risk of damaging fixtures. Keeping your tools in good condition also promotes safety, helping you work efficiently and confidently.
Materials Needed for Replacement
Gathering the right materials is the first step to guarantee a smooth sink drain replacement. You’ll need basic supplies like new pipe fittings compatible with your sink’s drain system, along with plumber’s putty or sealant to prevent leaks.
If your drain requires cleaning, have drain cleaning tools ready to clear out debris or buildup. You might also need a bucket to catch water and a wrench to loosen fittings.
Make sure to have replacement gaskets or washers to guarantee a tight seal. Collecting these materials beforehand saves time and prevents interruptions.
Proper drain cleaning tools help remove stubborn clogs, while new pipe fittings ensure a secure fit. With everything in place, you’ll be ready to replace the sink drain efficiently and effectively.
Turn Off Water and Prepare Your Kitchen for the Job
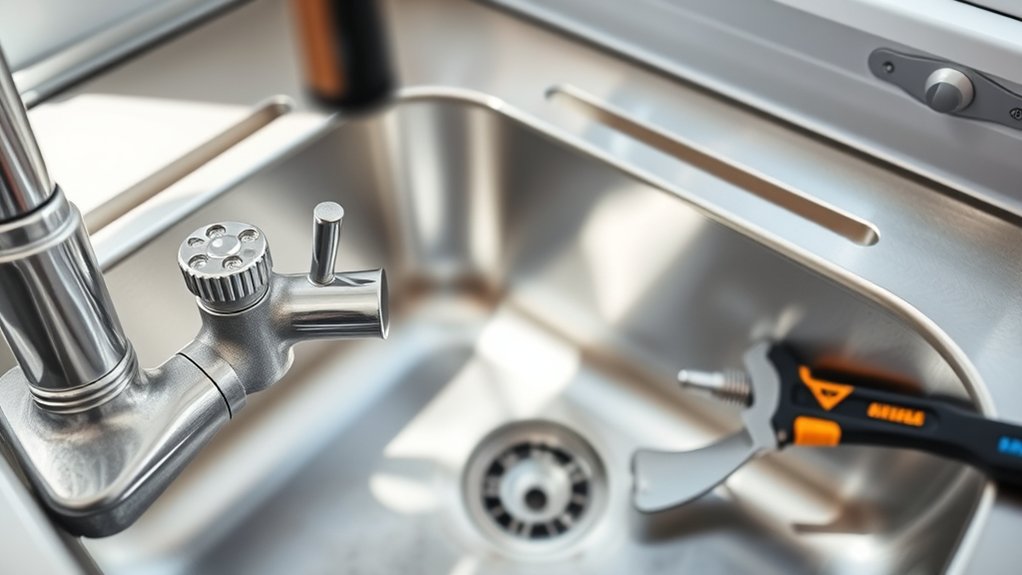
Since working on your kitchen sink drain involves water and potential messes, it’s important to turn off the water supply first. Find the shutoff valves under the sink and turn them clockwise to stop the water flow. This helps prevent any accidental leaks or flooding while you work.
Next, clear the area around your sink to protect your kitchen decor and give yourself enough space to work comfortably. Place a bucket or towels beneath the sink to catch any leftover water.
Before you start, check local plumbing regulations to make sure your repair is up to safety standards. If you have a garbage disposal, turn it off and unplug it for extra safety.
Taking these steps helps avoid water damage and keeps your workspace safe and organized. Once the water is off and everything is prepared, you’re ready to remove the drain components confidently and efficiently.
Remove the Drain Stopper and Clear Any Obstructions
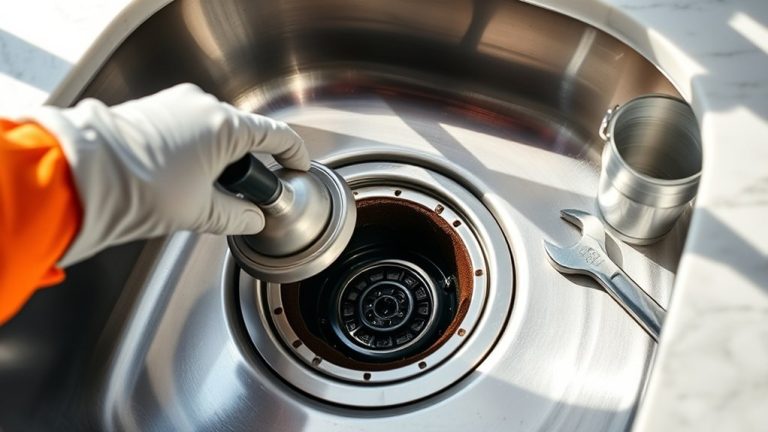
With the water supply turned off and the area prepared, it’s time to remove the drain stopper. Grab a pair of pliers or unscrew it if possible. Carefully lift the drain stopper out of the sink.
Once removed, inspect it for any buildup or debris. Sometimes, hair or soap scum cause obstructions around the stopper. Use a cloth or a small brush to clean off any gunk you find.
Next, check inside the drain opening for obstructions. Use a flashlight if needed to see clearly. If you notice any blockages, try removing them with a bent wire hanger or a drain snake. Be gentle to avoid damaging the pipe.
Clearing obstructions guarantees smooth water flow and prevents future clogs. Once the drain stopper and any debris are removed and cleaned, you’re ready to proceed with further disassembly or cleaning steps.
This simple step helps keep your drain clear and functioning properly.
Loosen and Detach the Drain Connections Carefully
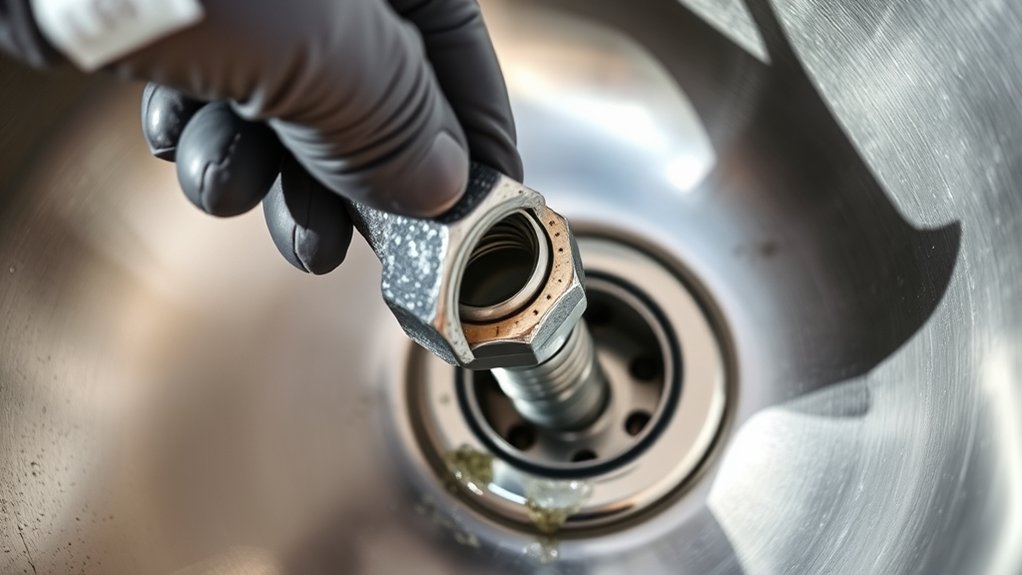
When you’re ready to loosen and detach the drain connections, make sure you have the right tools on hand. Using the proper tools helps you avoid damaging any parts, which is always a good idea.
Take your time and handle each connection gently—this way, you won’t strip threads or break any fixtures. Being patient with the process makes everything go much more smoothly and ensures a clean, safe removal.
Use Appropriate Tools
Before you start loosening the drain connections, gather the right tools like adjustable pliers, a basin wrench, or a wrench set. Using the proper tools ensures you can loosen fittings without damaging parts, which is key for effective drain cleaning or pipe replacement.
An adjustable wrench is versatile for different nut sizes, while a basin wrench helps access hard-to-reach connections under the sink. Make sure your tools are in good condition to prevent slipping or stripping.
Proper tools give you better control, making it easier to detach the drain connections carefully. This reduces the risk of damaging pipes or fittings, saving you time and money during the drain removal process.
Always work methodically to avoid unnecessary complications.
Handle Parts Gently
Carefully handling drain parts prevents damage and leaks during removal. Use gentle techniques when loosening or detaching the drain connections.
Handle parts with care to avoid stripping threads or cracking fittings. Apply steady, controlled pressure when loosening nuts and bolts, and avoid forcing any components.
If you encounter resistance, double-check for hidden clips or corrosion that may need different tools or methods. Use the right-sized wrench or pliers, and turn slowly to prevent slipping or damaging fittings.
Remove the P-Trap and Clear Clogs or Debris
Have you noticed your sink draining slowly or backing up? It’s time to remove the P-trap to clear out any clogs.
Place a bucket underneath the trap to catch water, then loosen the slip nuts with a wrench. Carefully take out the P-trap and check for debris or buildup inside.
Use this table to understand common causes of clogs:
| Cause of Clog | Signs |
|---|---|
| Accumulated debris | Slow drain, foul odor |
| Hair and soap buildup | Backups, gurgling sounds |
| Grease and food scraps | Frequent clogs |
| Mineral deposits | Reduced water flow |
Clean out any blockages, rinse the trap thoroughly, and inspect your drain pipe for obstructions. Removing debris from the P-trap helps ensure your drain flows smoothly and prevents future clogs.
Inspect and Clean Drain Components Before Reassembling
Once you’ve removed the P-trap and cleared any debris, it’s important to inspect the drain components to ensure everything’s in good shape. Look for signs of damage or buildup that could cause problems later.
Inspect drain components for damage and buildup to prevent future clogs and leaks.
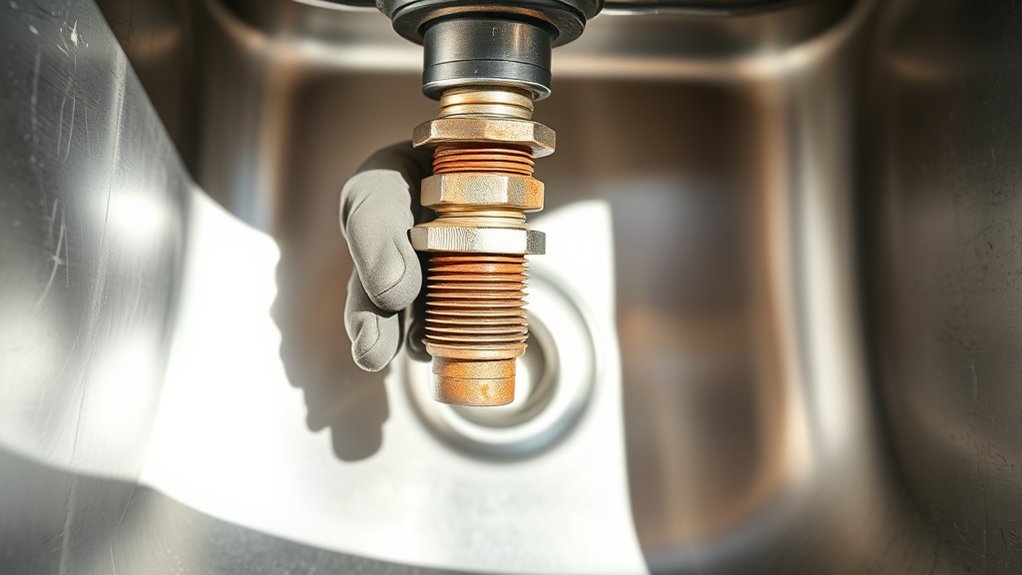
Check the sink’s tailpiece, slip nuts, and washers for cracks, corrosion, or worn-out parts. Make sure the threads are clean and free of grime so reassembly goes smoothly.
Examine the strainer and stopper for debris or corrosion. Remove any mineral deposits or soap scum buildup that could clog the drain.
Inspect the gasket and seals for cracks or deterioration. Confirm that all threads and connections are clean and intact.
Doing this thorough check will help prevent future leaks or clogs. Taking the time now to clean and verify each component keeps your drain system working efficiently.
Proper drain cleaning and component inspection now can save you headaches later and keep your kitchen sink draining smoothly.
Reassemble the Drain and Check for Leaks
After inspecting and cleaning the drain components, it’s time to reassemble the drain system. Carefully fit the drain parts back together, making sure all connections are tight but not overtightened, which can cause damage.
Use plumber’s tape on threaded fittings to improve the seal and prevent leaks. As you reassemble, double-check that the drain cleaning parts align properly.
Once everything is in place, tighten all nuts and fittings securely. Turn on the water slowly and watch for any signs of leaks around the drain.
If you see drips, tighten the fittings a little more. Proper leak prevention depends on a snug fit and sealed connections. Conduct a thorough check around all joints and fittings.
If no leaks appear after running water for a few minutes, your drain is reassembled correctly. This step helps ensure your drain system is sealed tight, reducing future issues and keeping the drain cleaning effective.
Tips to Maintain Your Sink Drain and Prevent Future Clogs
To keep your sink drain flowing smoothly, regular maintenance is key. Simple habits can prevent future clogs and reduce the need for harsh chemicals. Eco-friendly methods, like pouring boiling water or a mix of baking soda and vinegar, can clear minor buildup naturally.
Here are some DIY plumbing tips to maintain your drain: Avoid pouring grease or oil down the drain, as they solidify and cause blockages. Use a drain guard to catch hair, food scraps, and other debris.
Periodically flush the drain with hot water to prevent buildup. Also, clean the drain stopper and surrounding area regularly to stop grime from accumulating.
Frequently Asked Questions
How Do I Identify the Type of Drain in My Kitchen Sink?
To identify your kitchen sink drain type, start by inspecting how it connects underneath. Look for a metal or plastic tailpiece and see if it’s threaded or slip-jointed.
Knowing your drain type helps with repairs and preventing leaks. If it’s threaded, you’ll see threads around the pipe. If it’s slip-jointed, it’s secured with a clamp.
Recognizing these features makes fixing leaks easier and ensures proper maintenance.
What Safety Precautions Should I Take During Drain Removal?
Think of yourself as a safety knight. Before you start, wear safety gear like gloves and goggles to protect against splashes and debris.
Turn off the water supply and check for electrical hazards nearby, just like avoiding hidden traps. Use a bucket to catch water and make sure the area is dry to prevent slips.
Taking these precautions keeps you safe and ready to conquer the drain removal quest confidently.
Can I Use Chemical Drain Cleaners After Removing the Drain?
You shouldn’t use chemical drain cleaners after removing the sink drain. They can cause a chemical reaction that damages your plumbing and pose environmental concerns.
Plus, residual chemicals might react with leftover debris, making clogs or leaks worse. Instead, try mechanical cleaning methods or eco-friendly solutions.
This keeps your plumbing safe and reduces environmental harm, helping to maintain a cleaner, healthier kitchen environment.
How Long Does the Entire Drain Removal Process Typically Take?
The entire drain removal process usually takes about 30 minutes to an hour, depending on your experience. To keep things smooth, gather your tools like pliers, a wrench, and a bucket beforehand.
Follow simple steps carefully, and you’ll save time. Remember, working patiently helps prevent damage.
With these DIY tips, you’ll confidently remove your kitchen sink drain efficiently and be ready for a quick reinstall or upgrade.
When Should I Call a Professional Plumber Instead of DIY?
You should call a professional plumber if you run into DIY pitfalls like persistent leaks, heavy corrosion, or complicated plumbing connections.
If you don’t have the right tools or feel unsure about handling stubborn fittings, it’s safer to get expert help.
Trying repairs beyond your skill level can cause more damage or lead to costly repairs later on.
Trust a plumber to handle tricky issues efficiently, saving you time, money, and stress.
Conclusion
By following these simple steps, you can tackle your kitchen sink drain like a pro, saving money and avoiding unnecessary repairs. Think of it as giving your sink a quick health check-up—easy and rewarding.
With a little patience and the right tools, you’ll keep your drain flowing smoothly, just like a well-oiled machine. So roll up your sleeves and take control. Your sink will thank you!
Knowing how to remove a kitchen sink drain is a handy skill that can save you time and money. It’s easier than you might think and makes for a satisfying DIY project.
Once you master these steps, you’ll be able to keep your kitchen drain clear and problem-free. Remember, a clean drain is a happy sink!