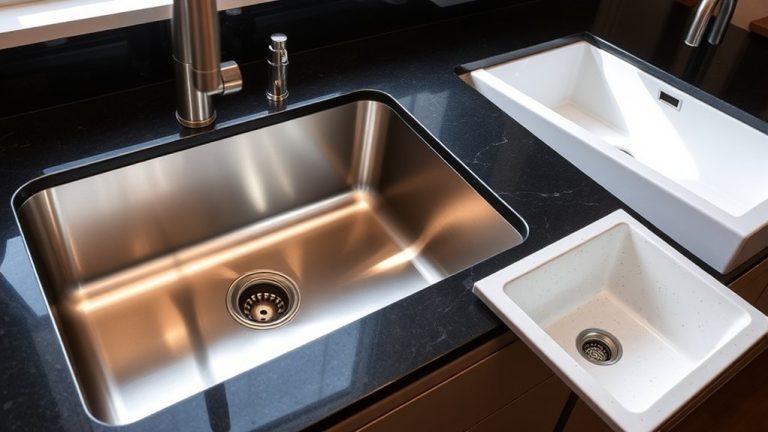
Step-By-Step Guide to Install a Kitchen Sink With Garbage Disposal
Installing a kitchen sink with a garbage disposal might seem daunting, especially if you’re not familiar with plumbing. Many people struggle with the idea of tackling this project on their own, but don’t worry—you’re not alone. With a little guidance, you can make it a manageable DIY task.
To install a kitchen sink with a garbage disposal, start by turning off the water and removing the old sink. Prepare your workspace with necessary tools and materials.
Install the sink into the countertop, seal it with plumber’s putty, and secure it with clips.
Next, attach the disposal to the mounting flange, connect plumbing and electrical wires, and secure all fittings tightly.
When you finish, test for leaks and proper operation. Continuing step-by-step will help ensure a successful setup.
Key Takeaways
- Turn off the water supply, disconnect the existing plumbing, and carefully remove the old sink. Take your time to avoid damaging any fixtures.
- Prepare your workspace, gather all the tools and materials you’ll need, and measure carefully to ensure the new sink fits properly.
- Install the sink with sealant, then secure it with clips. Make sure it’s aligned correctly and that the seal is watertight.
- Mount the garbage disposal, connect it to the sink and plumbing, and tighten all fittings securely to prevent leaks.
- Test everything for leaks, check that the disposal operates smoothly, and double-check all connections for a professional, leak-free installation.
What Tools and Materials Do You Need to Install a Kitchen Sink and Garbage Disposal?
Before you start installing your kitchen sink and garbage disposal, make sure you gather all the tools and materials you’ll need. You’ll want basic hand tools like a wrench, screwdriver, pliers, and a bucket to catch any water.
Gather essential tools like wrenches, screwdrivers, pliers, and a bucket before installing your sink and disposal.
A utility knife is handy for sealing and trimming, and plumber’s putty helps create a watertight seal around the sink’s edges. If you need to make new mounting holes, don’t forget a drill.
You’ll also need a sink with mounting hardware, the garbage disposal unit, and drain pipes. Think about disposal alternatives if you’re worried about maintenance or the environmental impact.
Having cleaning supplies like vinegar and baking soda nearby makes cleanup easier after installation. It’s also smart to keep a bucket or towels handy for any spills.
Gathering these tools and materials beforehand helps the process go smoothly and saves you from unnecessary delays. It makes sure you’re ready to tackle the installation efficiently.
Assess Your Existing Setup and Compatibility Before Installing
Before you start installing your new sink and disposal, it’s a good idea to take a look at your existing plumbing. Just a quick check to see if everything lines up properly. Measure the space you have available so you know for sure everything will fit comfortably without any awkward squeezing.
It’s also important to double-check that your current plumbing setup is compatible with the new sink and disposal. Doing this ahead of time can save you some surprises and headaches later on, making the whole installation process a lot smoother.
Check Existing Plumbing Compatibility
To guarantee a smooth installation, you need to assess your existing plumbing setup carefully. Check if the drain pipe is compatible with the new sink and garbage disposal. Make sure the drain pipe diameter matches the disposal’s inlet for a proper fit.
Also, verify your water pressure; too high or low pressure can cause leaks or make the disposal work inefficiently. Examine if your current plumbing has a secure connection for the disposal and if any adapters are needed.
It’s important to confirm that the drain supports a standard waste outlet and that the trap is in good condition. Doing this now helps prevent future leaks or compatibility issues. Here’s a quick overview:
| Aspect | Consideration |
|---|---|
| Drain Pipe | Match diameter and connection type |
| Water Pressure | Ensure adequate pressure for disposal |
| Pipe Material | Compatibility with new fittings |
| Trap Condition | Check for damage or corrosion |
| Adapter Needs | Identify if adapters are necessary |
Measure Space and Dimensions
Measuring the space available for your new sink and garbage disposal is key to ensuring a proper fit and easy installation. Take accurate measurements of your existing countertop opening, especially if you’re considering different sink styles.
Check the countertop materials to make sure they can support the weight of the new sink and the installation method you choose. Also, verify the cabinet size underneath to fit the disposal unit and plumbing comfortably.
Don’t forget to assess the clearance around the sink for faucet installation and future maintenance needs. Different sink styles may require specific cutout measurements, so keep that in mind.
By measuring everything carefully, you’ll avoid surprises during installation and make sure your new setup fits perfectly. Keep these points in mind:
- Compatibility of sink styles with your countertop materials
- Precise measurements of existing cutouts
- Clearance space for faucet and plumbing
- Weight support for different sink materials
- Space for disposal unit and plumbing connections
How to Remove Your Old Kitchen Sink and Prepare the Space for Installation?
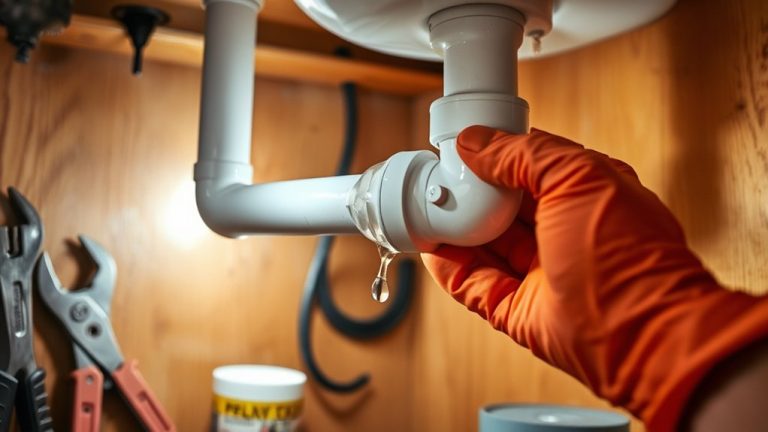
First things first, turn off the water supply so you don’t end up with a big mess or water everywhere. Once that’s done, disconnect the plumbing — make sure to have a bucket or towels handy in case any water still drips out. Then, carefully lift out the old sink; it might be a bit heavy or tricky, so take your time.
After the sink is out, give the area a good clean. Remove any leftover debris or old sealant, and check that everything’s ready for the new sink. It’s a good idea to inspect the space and make any necessary repairs before installing the new sink so everything fits perfectly and works smoothly.
Turn Off Water Supply
Before removing your old sink, you need to turn off the water supply to prevent leaks and messes. This step is essential for managing water pressure and avoiding water damage. Locate the shut-off valves under the sink or near the main water line.
Turn each valve clockwise to fully close them, stopping water flow to the pipes and fittings. Be sure to test that the water has stopped by turning on the faucet briefly. This helps prevent unwanted water from spilling when disconnecting the supply lines.
Keep a bucket or towel handy to catch any residual water. Remember, working with pipe fittings and water pressure can cause unexpected leaks if not properly shut off.
- Identify shut-off valves
- Turn valves clockwise
- Test for water flow
- Prepare a bucket or towel
- Double-check pipe fittings
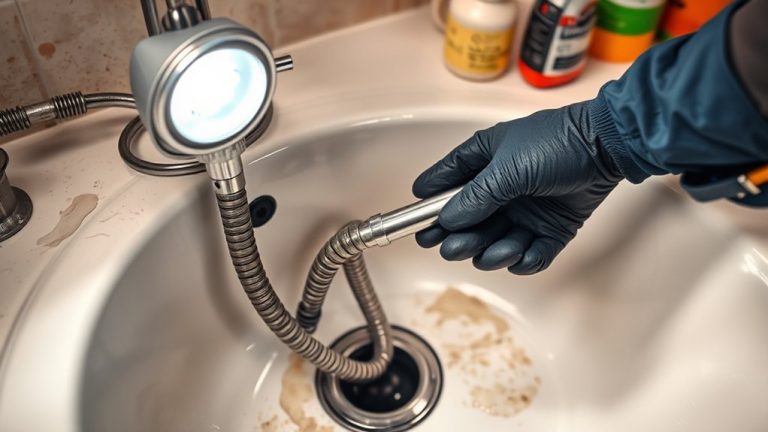
Remove Old Sink
With the water supply shut off, you can now start removing your old sink. Begin by disconnecting the water supply lines from the faucet, including the decorative faucet if it’s part of your setup.
Next, loosen and remove the clips or mounting brackets holding the sink to the countertop. Carefully lift the sink out, being mindful of any leftover water or debris.
If you have a water filtration system attached, disconnect it and set it aside. Then, remove any silicone or caulk around the edges to free the sink from the countertop.
Finally, clean the surface thoroughly so it’s ready for the new sink. Taking your time during this step helps prevent damage and makes the installation smoother.
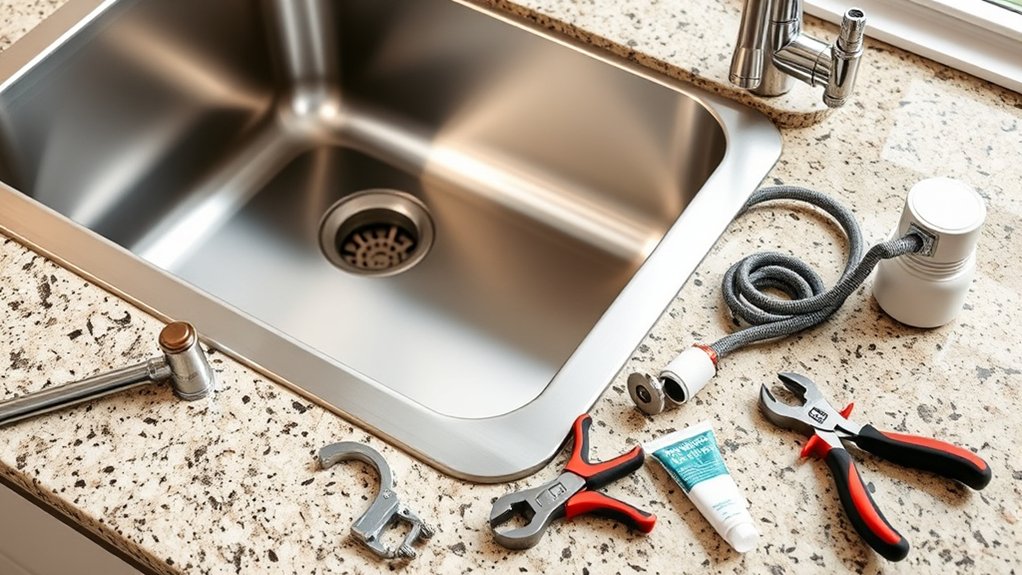
Gather Your Tools and Materials for a Smooth Installation
Gathering all the necessary tools and materials before you begin can make the installation process much smoother. Having everything on hand prevents interruptions and keeps your project on track.
You’ll want to consider tools that help with plumbing, securing the sink, and ensuring proper appliance placement to fit your kitchen decor seamlessly.
Here’s a quick list of essentials:
- Adjustable wrench and pliers
- Pipe wrench and plumber’s tape
- Screwdriver set
- Silicone sealant
- Replacement drain assembly and mounting clips
Make sure your tools are clean and in good condition. Check that your new sink and garbage disposal match your kitchen decor and fit well within your cabinet space.
Properly gathering these items sets the foundation for a smooth installation, saving you time and frustration while ensuring everything fits perfectly and functions efficiently.
Install Your New Kitchen Sink and Garbage Disposal: Step-by-Step
Now that you’re all set to install, the first thing you want to do is get your workspace ready. Clearing the area and organizing your tools will make the whole process way easier and less stressful.
Once your space is prepared, carefully place your sink basin into the countertop, making sure it fits snugly. Take your time to align everything properly so there are no gaps or leaks.
Finally, it’s time to connect the garbage disposal unit. Just follow the manufacturer’s instructions step-by-step to ensure everything is securely attached and leak-free. That’s it—you’re well on your way to a fresh new kitchen setup!
Preparing Your Workspace
Before you start installing your new kitchen sink and garbage disposal, it’s essential to prepare your workspace thoroughly. Clear the area underneath and around your sink to give yourself enough room to work comfortably.
Gather all necessary tools and materials, including decorative hardware for finishing touches and water filtration components for cleaner water. Protect countertops with a drop cloth or towel to prevent damage.
Turn off water supplies and disconnect any existing plumbing. Make sure your workspace is well-lit so you can see every detail clearly.
This preparation ensures a smoother installation process and reduces the risk of mistakes. Properly organizing your space now saves time later and makes the entire project more manageable.
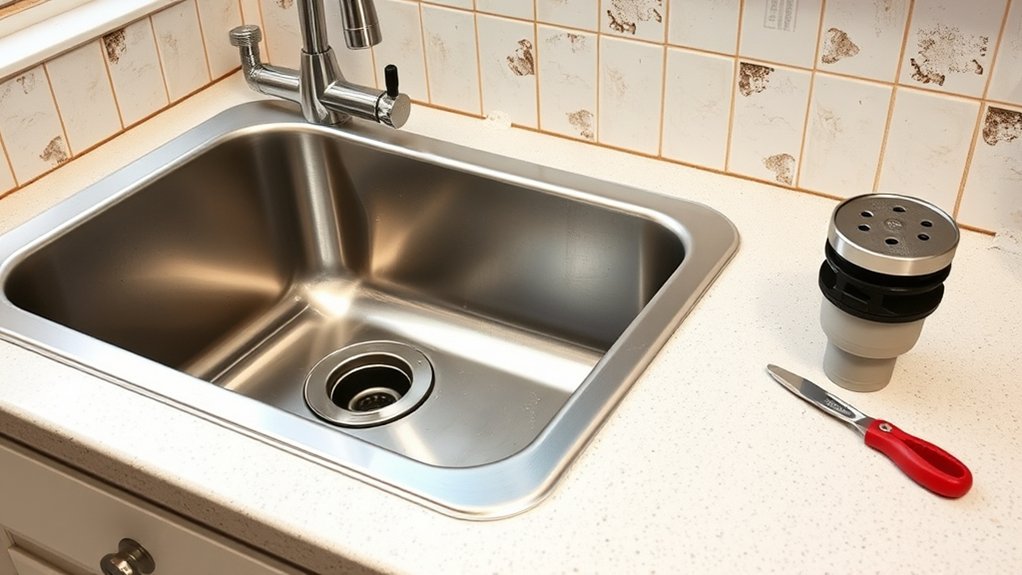
Installing the Sink Basin
With your workspace prepared and the old sink cleared out, you can now focus on installing the new sink basin. Start by applying a bead of plumber’s putty or silicone sealant around the underside edge of the sink’s rim.
Carefully lower the sink into the countertop opening, making sure it lines up properly with the cutout. Press firmly to create a watertight seal. For a cleaner look, ensure the sink sits flush against the countertop.
Depending on your sink material—like stainless steel, porcelain, or composite—handle it carefully to avoid scratches or damage. Secure the sink underneath using clips or mounting brackets, following the manufacturer’s instructions.
Once everything is in place, wipe away any excess sealant to give it a neat, professional appearance.
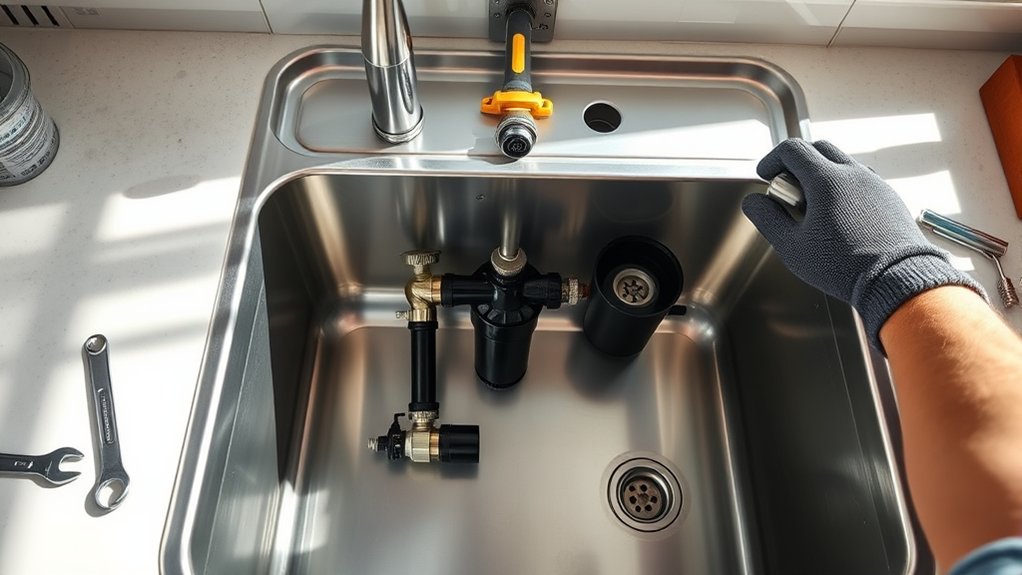
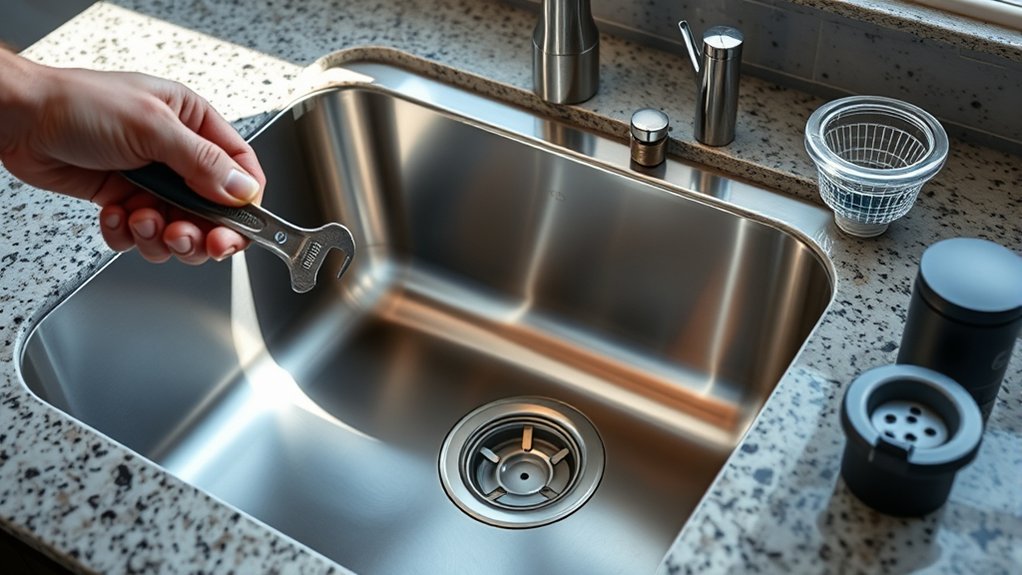
Connecting the Disposal Unit
To connect the garbage disposal unit, start by turning off the power supply for safety. Then, place a bucket underneath to catch any debris or water that might spill.
Before proceeding, verify all connections are secure to prevent leaks. When attaching the disposal, make sure the mounting assembly is aligned correctly and tighten the mounting ring.
Use plumber’s putty around the sink flange to stop water from seeping through. To reduce noise, consider installing a noise-reduction insulation kit or anti-vibration mounts.
Keep safety in mind by avoiding contact with moving parts during installation. Double-check all connections, especially the dishwasher inlet and drain pipe.
Properly securing the unit helps ensure safe operation and reduces noise when running the disposal.
Connect the Disposal to Plumbing and Power Safely
Connecting the disposal to your plumbing and power sources requires careful attention to safety. First, confirm the disposal is properly mounted to the sink’s disposal mounting flange, securing it firmly in place.
Before proceeding, turn off the power at the circuit breaker to prevent electrical shocks. When handling electrical wiring, follow local codes and use a grounded outlet or hardwired connection, making sure all connections are tight and insulated.
Use wire nuts to secure the wires and attach the ground wire to the disposal’s grounding screw. For plumbing, connect the disposal’s discharge tube to the drain pipe, ensuring a tight fit with a gasket or clamp.
Double-check all connections for stability and leaks. Once everything is connected, restore power and test the disposal, listening for smooth operation.
Always prioritize safety by verifying that all electrical and plumbing connections are secure before use.
Seal and Secure Your Sink to Prevent Leaks
Sealing and securing your sink is essential to prevent leaks and keep it firmly in place. Proper sealant application stops water from seeping through gaps, while secure mounting keeps the sink stable during use.
To do this, apply a bead of waterproof sealant around the edges of the sink’s rim before setting it into the countertop. Press the sink firmly into position, then tighten the mounting clips and brackets to secure it.
Double-check that the sink is level and aligned correctly. For extra security, reapply sealant around the edges if needed to create a watertight seal.
Remember, a well-anchored sink helps prevent water damage and future repairs. The key steps include applying sealant, tightening all mounting hardware, ensuring proper alignment, reapplying sealant if necessary, and testing for leaks once everything is set.
Following these steps guarantees your sink stays leak-free and securely mounted for long-lasting performance.
Test Your Sink and Disposal to Make Sure Everything Works
Before finishing up, you should test your sink and disposal to verify everything functions correctly. Turn on the water gradually, checking for leaks around the seals and connections.
Run the disposal to ensure it operates smoothly without unusual noises or vibrations. Test different disposal types, such as continuous feed or batch feed, to confirm each works as expected.
Use cleaning tips like running cold water during disposal operation to prevent odors and buildup. Once the disposal runs, turn off the water and check underneath for leaks.
Also, inspect the drain for proper flow and absence of clogs. Proper testing helps you catch issues early, saving you time on repairs later.
Remember, routine cleaning tips—like periodically grinding ice or citrus peels—keep your disposal fresh and functioning well. Validate the sink and disposal are secure and leak-free before finishing your installation.
This final step ensures your kitchen setup is safe and ready to use.
Troubleshooting: Fixing Common Installation Issues
Even with careful installation, you might run into some common issues that can mess with your sink and disposal’s performance. These problems can include leaks, clogs, or vibrations. Troubleshooting helps you fix them quickly without needing a plumber.
For example, if your disposal leaks, check for loose connections or damaged seals. A faulty dishwasher hookup can cause drainage problems—make sure the hose is connected properly and isn’t clogged. If your faucet replacement isn’t working smoothly, double-check the mounting and tighten fittings.
Vibration during operation might mean the disposal isn’t balanced or is loose. Clogs often come from improper piping or debris buildup. Lastly, if the disposal won’t turn on, confirm all electrical connections are secure. Keeping an eye on these issues will help your sink stay efficient and last longer.
Regularly inspecting connections and replacing worn parts will prevent future problems and keep your kitchen running smoothly.
Post-Installation Maintenance Tips for Your Sink and Disposal
Regular maintenance is key to keeping your sink and disposal working smoothly and avoiding costly repairs. Just follow some simple cleaning tips regularly.
Rinse the sink with hot water and a mild cleaner to prevent buildup. When cleaning the disposal, try cutting some lemon or using baking soda and vinegar. It helps eliminate odors and break down grease.
Avoid pouring grease or fibrous foods down the drain because they can cause clogs. Also, run cold water during and after using the disposal to solidify fats and clear debris.
Periodically, grind ice cubes and citrus peels to clean the blades and freshen things up. Check for leaks or strange noises and tighten connections if needed.
Taking these simple steps will help your sink stay in top shape, extend your disposal’s life, and keep your kitchen running smoothly. Regular upkeep really makes a difference in overall performance.
Frequently Asked Questions
Can I Install a Garbage Disposal Without Professional Help?
Yes, you can install a garbage disposal yourself, but it does require some DIY plumbing skills and attention to electrical safety.
Make sure to turn off the power and water supply before you start. Follow the detailed instructions carefully and use the right tools.
If you’re uncomfortable with electrical wiring or plumbing, it’s safer to hire a professional.
Proper installation is important for safety and ensuring it works well, so don’t rush or skip safety precautions.
What Is the Average Cost of Installing a Kitchen Sink With Disposal?
You’ll typically spend around $300 to $600 installing a kitchen sink with a garbage disposal.
For example, if you pick a stainless steel sink and a standard disposal unit, your costs will include labor, material options, and any plumbing upgrades needed.
Choosing lower-end materials or doing the installation yourself can save money, while premium fixtures and hiring a professional will increase the cost.
Plan your budget based on the materials you want and whether you’ll handle the installation or hire someone.
How Long Does a Typical Sink and Disposal Installation Take?
A typical sink and disposal installation takes about 2 to 4 hours. You’ll spend time connecting the drain and making sure the drain connection is secure, which is important for proper drainage.
You’ll also focus on mounting the disposal, ensuring the unit is tightly secured to prevent leaks. The exact time depends on your experience and whether you run into any issues with plumbing or fitting components.
Are There Specific Safety Precautions for Electrical Connections?
Yes, there are specific safety precautions for electrical connections during installation. Always turn off the power at the breaker before working on wiring to prevent shocks.
Make sure all connections are secure, insulated, and properly grounded. Use a voltage tester to confirm there’s no power before you start working.
If you’re unsure about anything, it’s best to consult a professional. This helps prevent electrical hazards and ensures your disposal operates safely.
What Should I Do if My Existing Plumbing Is Outdated?
Don’t put off fixing outdated fixtures; it’s like building on shaky ground. When your plumbing is outdated, start with upgrades to ensure safety and efficiency.
Replace old pipes and fittings before installing a new sink and garbage disposal. This not only prevents leaks and damage but also improves water flow.
Talking to a professional can save you time and money. They’ll make sure your plumbing is up-to-date and ready for your new kitchen setup.
Conclusion
Now that you’ve navigated the steps to install your new kitchen sink with a garbage disposal, you’re ready to keep your kitchen running smoothly. Think of it as fine-tuning a well-oiled machine.
Remember, patience and attention to detail are your best tools. Each step is like a brushstroke in creating a perfect masterpiece. With proper care and regular maintenance, your sink will serve you reliably.
Installing a kitchen sink with a garbage disposal can truly transform your kitchen. It’s the centerpiece of your space, making cleanup easier and your daily routines more efficient.