How Do You Toast Bread in the Oven?
Getting that perfect slice of toasted bread can be surprisingly tricky, especially if you’re used to relying on a toaster. Many people struggle with uneven browning or ending up with bread that’s either underdone or burnt. Don’t worry—you’re not alone in this!
To toast bread in the oven, first preheat it to around 350°F and keep the bread in a cool, dry place until ready. Arrange slices flat on a baking sheet or rack with space between them for even heat.
Bake for 10-15 minutes, flipping halfway through for uniform browning. Watch closely to prevent over-toasting and adjust as needed. If you want to perfect your technique, there’s more to explore below.
Key Takeaways
- Preheat the oven to around 350°F (175°C). Arrange bread slices evenly on a baking sheet or rack.
- Pick sturdy bread types and space the slices about 1/2 inch apart so they heat evenly.
- Flip the slices halfway through the toasting so they brown uniformly.
- Keep an eye on them and take out the bread once it’s golden-brown to avoid over-toasting.
- Store your bread properly and use consistent temperature and timing for the best results.
Getting Your Oven and Bread Ready for Toasting
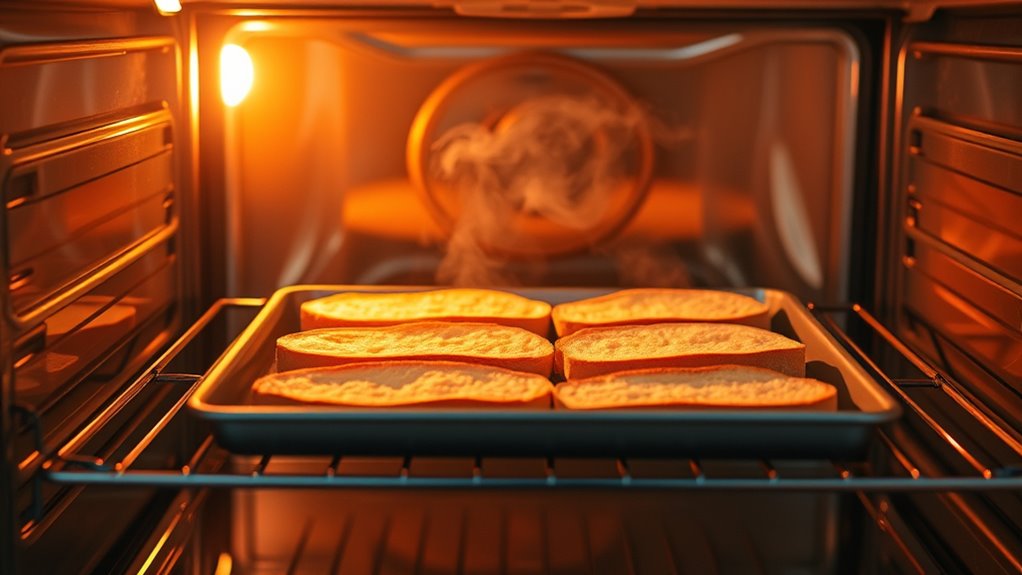
Before you start toasting, make sure your oven is clean and preheated to the right temperature, usually around 350°F (175°C). Proper bread storage is key—keep bread in a cool, dry place or in the fridge if you plan to toast it later.
Ensure your oven is clean and preheated to 350°F for perfect, even toasting.
Avoid freezing bread unless you’re toasting directly from frozen. If you do, thaw it first to get even toasting. Check that the oven racks are clean and securely in place to keep everything safe.
Remove any crumbs or spills, as these can cause smoke or fires. When placing the bread, use a baking sheet or oven-safe rack to prevent direct contact with hot surfaces.
Make sure the oven is fully preheated before putting in the bread. This helps avoid uneven toasting. Taking these steps ensures your bread is fresh and your oven is safe, leading to perfect toasted bread every time.
Choosing the Best Bread for Oven Toasting
Choosing the right bread is key to getting perfectly toasted slices. The type you pick affects the flavor, texture, and how well it toasts.
Go for sturdier breads like sourdough, whole wheat, or rye. They hold up better in the oven. Softer breads like brioche or white bread can become too crispy or soggy if you’re not careful.
Here’s a quick guide:
| Bread Varieties | Best for toasting techniques |
|---|---|
| Sourdough | Toasts evenly and keeps its shape |
| Whole Wheat | Adds flavor and stays crunchy |
| Rye | Dense, great for a crisp finish |
Adjust your toasting time or temperature based on the bread type. This way, you’ll get a uniform, crispy toast every time without burning or under-toasting.
How to Arrange Bread Slices for Even Toasting
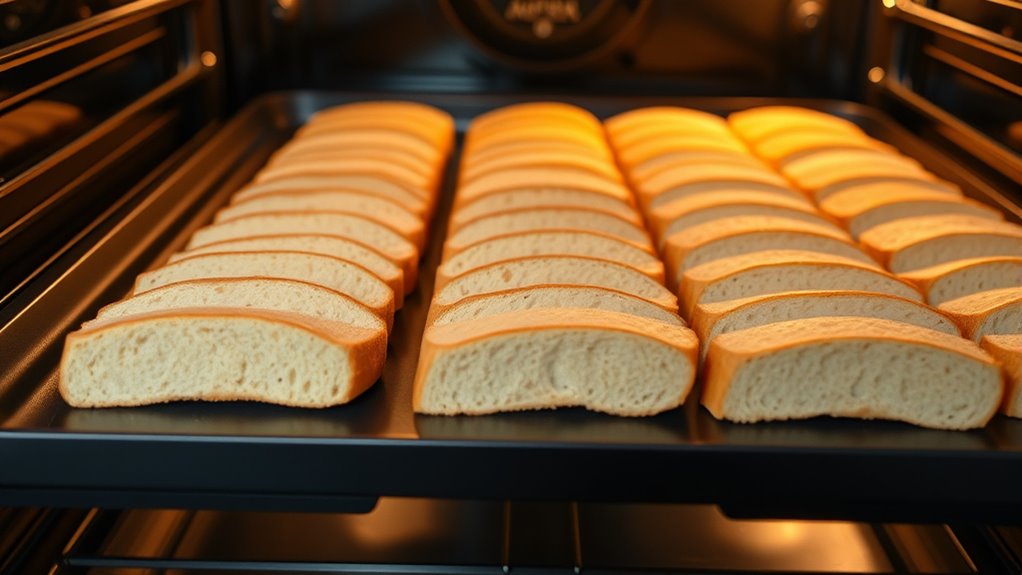
To guarantee your bread toasts evenly, it’s important to arrange the slices in a way that promotes uniform heat exposure. Proper bread stacking and slice spacing ensure each piece gets equal toasting. Here are three tips to help you achieve this:
- Avoid overcrowding: Space each slice about 1/2 inch apart to allow heat circulation and prevent steaming.
- Lay slices flat: Keep bread slices lying flat on the baking sheet or rack to ensure even contact with heat.
- Use multiple racks if needed: When toasting many slices, use separate racks or trays, maintaining space between slices to promote consistent toasting.
This setup helps prevent uneven browning and burnt edges, giving you perfectly toasted bread every time. Remember, proper slice spacing and mindful bread stacking are key to achieving consistent, delicious results in your oven.
Setting the Right Oven Temperature and Time
Setting the right oven temperature and time is key to getting perfectly toasted bread. Aim for a moderate temperature, around 350°F (175°C), to avoid burning while ensuring even toasting.
Higher temperatures can quickly over-toast or burn the bread, which can damage the crust and affect preservation. Use a timer to prevent over-toasting; usually, 10-15 minutes is enough, but keep an eye on it.
Monitoring your bread helps keep the process safe and prevents accidents like fires or overheating. If you prefer lighter toast, lower the temperature a bit and cut down on the time.
Consistent temperature and timing are essential for even browning without burnt edges. Adjustments might be needed depending on your oven’s performance, but controlling these factors guarantees safe baking and tasty results.
How to Monitor and Flip Bread for Perfect Toast
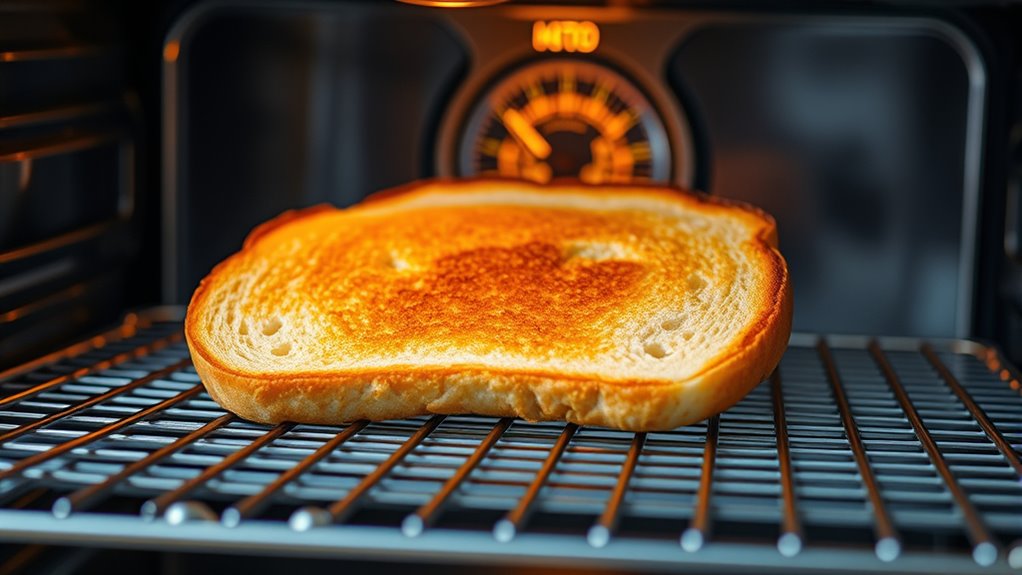
Monitoring your bread closely is key to making sure it toasts evenly and reaches your desired level of browning. Keep a close eye on it to prevent over-toasting and keep the bread looking great.
Keep a close eye on your bread to ensure even toasting and perfect browning.
Here are three tips to help you get perfect toast:
- Flip the bread at the right time, usually halfway through, to get even browning on both sides. Use tongs or a spatula to avoid burning your fingers.
- Adjust your oven rack if one side is browning faster. This helps promote uniform toasting and keeps the bread from burning.
- Use toaster alternatives like a cast-iron skillet or broiler for more control, especially when toasting thicker slices or artisanal bread.
How to Know When Your Oven Toast Is Done
Want to know when your toast is just right? Well, the easiest way is to look for that beautiful golden-brown color. When it’s got that perfect hue, you’ll also notice it feels nice and crisp under your fingers.
But don’t just rely on the clock—trust your senses! Keep an eye on it as it cooks, and if it looks and feels good, then it probably is. Everyone’s oven is a bit different, so you might need to tweak the timing a little to match your oven’s quirks and your personal taste. With a little practice, you’ll be making toast that’s just how you like it every single time!
Visual Color Changes
How can you tell when your oven toast is perfectly done just by looking at it? The key is observing its color change. As your bread crisps, it shifts from pale to golden brown, then to a deeper hue. This visual cue indicates it’s nearing perfection, so keep an eye on the color rather than relying solely on time.
Here are 3 signs to watch for:
- A uniform golden-brown shade across the surface.
- Slight darkening at the edges, signaling crispness.
- No remaining pale spots, which suggests even toasting.
Texture and Crispness
The texture and crispness of your toast are the most telling signs that it’s ready. When the bread has a firm, crunchy surface, it’s a good indication that it’s properly toasted.
If your bread was stored in a humid environment, it might take a bit longer to crisp up, so just be patient. Using accessories like a wire rack can help air circulate and promote even crispness.
Look for a golden-brown color and a sturdy, crackly exterior—that’s when you know the bread has reached the ideal texture.
Keep in mind that over-toasting can make your toast too dry or burnt. Check it frequently to avoid that.
Proper bread storage helps maintain the right moisture level, so your toast crisps up perfectly without becoming too tough.
Time Guidelines
Timing is key when oven toasting bread because factors like bread thickness and oven temperature affect how fast it browns. To get perfect toast, keep these tips in mind:
Check your bread around 5-7 minutes, but adjust based on your oven and the type of bread you’re using. Remember, stale bread from poor storage may toast faster, so keep a close eye on it.
Use visual cues—look for a golden-brown color and a firm texture—to decide when it’s done, rather than just relying on time. Oven calibration can vary, so it’s helpful to test your oven’s actual temperature now and then.
Once your toast reaches your preferred crispness, take it out promptly to avoid burning.
Troubleshooting Common Oven-Toast Issues
Having trouble getting your bread to toast evenly or noticing that the edges are way too crispy? It could be a sign that your oven isn’t distributing heat quite right. Sometimes, uneven heat can lead to inconsistent toasting, making it tricky to get that perfect slice every time.
Temperature settings might also be part of the problem. If they’re off, your toast might come out either underdone or burnt. Don’t worry — there are some simple troubleshooting steps you can try to fix these issues and get your toasting game back on track.
Uneven Toasting Results
Uneven toasting often happens when hot spots in your oven cause certain areas to brown faster than others. To fix this, consider these tips:
- Rotate the bread halfway through to ensure even browning, especially if your oven has hot spots.
- Store bread properly in a cool, even environment. This prevents uneven moisture, which can affect how it toasts.
- Use toasting accessories like oven-safe racks or baking sheets with even heat distribution. They help prevent localized browning.
Overly Crispy Edges
Overly crispy edges often happen when you expose the bread to high heat for too long or place it too close to the heat source in your oven. To avoid this, keep a close eye on the toasting time and position the bread in the middle of the oven.
If the edges start to burn, remove the bread early or lower the rack. For sweet spreads, crispy edges can add a nice crunch, but for savory toppings, it’s best to avoid over-toasting to prevent burnt flavors.
You can also try lightly covering the edges with foil if they brown too quickly. Making these adjustments helps you get evenly toasted bread, whether you’re spreading sweet preserves or adding savory toppings, without overly crispy, burnt edges.
Troubleshooting Temperature Issues
Adjusting oven temperature is key to getting perfectly toasted bread without burning or under-toasting. If your bread isn’t toasting evenly, try these tips:
- Check your oven’s calibration. An inaccurate oven temperature can cause uneven toasting. Use an oven thermometer to verify the temperature and adjust your settings as needed.
- Monitor how you store your bread. Keeping bread in a humid or cold environment can affect how it toasts. Store it in a cool, dry place for consistent results.
- Prioritize oven safety. Always preheat your oven properly and avoid overcrowding. Overloading can block heat circulation, leading to uneven toasting and safety hazards.
Tips for Achieving Crispy, Evenly Browned Oven Toast
To achieve crispy, evenly browned oven toast, it’s important to position the bread properly on the baking sheet and keep a close eye on the toasting process. Make sure to place the bread slices in a single layer with enough space between them for good heat circulation.
Different types of bread, like thick-cut artisan or thin sandwich bread, may need a little adjustment in toasting time. Thicker slices typically require a bit longer to brown evenly. For the best results, flip the slices halfway through toasting.
Watch the oven carefully, especially towards the end, to prevent burning. Using a convection oven can help distribute heat more evenly. If you’re using a conventional oven, rotating the baking sheet periodically can improve browning.
Proper positioning and attentive monitoring are key to getting that perfect crispy, golden-brown finish every time.
Adding Flavors and Toppings to Your Oven Toast
Want to jazz up your oven toast? Try mixing in some fun flavors and toppings to make it more exciting. Just a quick tip—how you place those toppings really matters. It helps them stay put and cooks evenly, so every bite is just right.
A few small changes in texture and taste can totally transform simple toast into a tasty, personalized treat you’ll love.
Creative Flavor Combinations
Adding creative flavors and toppings can turn your oven-toasted bread from simple to spectacular. Try bold combinations while keeping bread storage and oven safety in mind.
Properly store bread to keep it fresh and avoid over-toasting or burning. Here are three flavor ideas to experiment with:
- Avocado and Everything Bagel Seasoning – mash ripe avocado, spread it on toast, then sprinkle with seasoning for a savory boost.
- Honey and Cinnamon – drizzle honey and dust with cinnamon for a sweet, warm treat.
- Tomato and Basil – top with sliced tomatoes and fresh basil for a fresh, flavorful bite.
These toppings not only enhance flavor but also help keep your oven safe and your bread fresh.
Topping Placement Tips
When placing toppings on your bread before toasting in the oven, strategic positioning guarantees even flavor distribution and prevents spills. Spread ingredients like cheese, avocado, or spreads evenly across the bread’s surface, avoiding too much in the center or edges.
If you’re adding toppings with strong flavors, like hot sauce or balsamic glaze, place them sparingly to prevent overpowering the bread’s natural flavor. Use appropriate toasting utensils, such as a spatula or tongs, to handle delicate toppings without disturbing their placement.
Keep toppings stable and avoid stacking too high, which can cause uneven toasting. Proper placement ensures your bread heats evenly, flavors meld harmoniously, and your toppings stay intact during the toasting process.
Enhancing Texture and Taste
Once you’ve positioned your toppings thoughtfully, it’s time to improve the bread’s texture and flavor with extra ingredients. Start with fresh, high-quality bread—fresher bread boosts taste and texture, especially when oven-calibrated for even toasting. Here are three ways to elevate your toast:
- Spread butter or oil before toasting for a richer flavor and crispier crust.
- Add herbs or spices like garlic powder, cinnamon, or rosemary for a flavorful twist.
- Top with sweet or savory toppings such as honey, jam, cheese, or avocado once out of the oven.
Adjust your oven settings carefully, considering bread freshness and calibration, to achieve the perfect balance of crunch and taste.
Cleaning Up and Saving Leftover Toast
After you’ve enjoyed your toast, cleaning up efficiently can make the process quicker and easier. First, let the oven cool before handling any crumbs or leftover bits. Once cooled, wipe down the baking sheet or tray with a damp cloth, and sweep up crumbs with a small brush or vacuum if needed.
To save leftover toast, let it cool completely, then store it in an airtight container or resealable bag to keep it fresh. Proper bread storage prevents mold and staleness, reducing waste. Keeping your kitchen organized helps you find space for leftovers easily and prevents clutter.
If you plan to re-toast or enjoy leftovers later, label the container with the date to track freshness. Regularly cleaning your baking area also makes future toast preparation smoother. Efficient cleanup and good bread storage habits ensure your kitchen stays neat, and your bread stays delicious longer.
Frequently Asked Questions
Can I Toast Bread With Butter or Toppings in the Oven?
Yes, you can toast bread with butter or toppings in the oven. Just place your bread on a baking sheet and spread butter or toppings before toasting.
As it heats, the butter will melt, adding flavor and a nice texture. Keep an eye on it to prevent burning.
Once it’s toasted to your liking, remove it promptly. This way, you get warm, flavorful bread with perfectly melted butter or your favorite toppings.
What Safety Precautions Should I Take When Toasting Bread in the Oven?
As you watch the bread turn into a perfect golden color, keep safety in mind. Make sure the oven is set to a safe temperature, around 350°F, to avoid burning or creating smoke.
Use oven mitts to keep your hands protected and avoid touching any hot surfaces. Stay nearby so you can take out the bread as soon as it reaches your preferred level of toast.
Keep flammable items away from the oven and never leave it unattended while toasting. Safety always comes first, even when you’re just making a quick snack.
How Do Different Oven Types Affect Toasting Results?
Different oven types influence your toasting results through oven temperature and toasting duration. Conventional ovens often need higher temperatures and longer times.
Convection ovens use fans to circulate air, which results in faster, more even toasting at lower temperatures. To get perfect toast, keep an eye on your oven’s temperature settings.
Adjust the toasting time accordingly, and watch your bread closely to prevent burning, especially with convection ovens.
Is It Better to Use a Baking Sheet or Oven Rack for Toasting?
You should use an oven rack for toasting because it allows hot air to circulate evenly, which helps get that perfect toast. Placing bread directly on a baking sheet might cause uneven browning.
Set your oven to about 350°F and keep an eye on your bread. The key is to flip the slices halfway through so they toast evenly.
This way, you’ll get consistent, crispy results with minimal effort.
Can I Toast Frozen Bread Directly in the Oven?
Yes, you can toast frozen bread directly in the oven. Preheat your oven to 375°F (190°C), then place the frozen bread slices on a baking sheet or oven rack.
Toast for about 10-15 minutes, flipping halfway through, until the bread reaches your desired crispness. Keep an eye on it to prevent burning.
Toasting frozen bread this way is convenient and helps you get a crispy, evenly toasted result.
Conclusion
Now that you know how to toast bread in the oven, you’ll enjoy perfectly crispy slices anytime. Did you know that oven-toasted bread can have up to 30% less oil than pan-toasted versions? With just a few simple steps, you can get even browning and great flavor.
So go ahead, experiment with toppings and create your own toasted masterpieces. Your taste buds will thank you! Toasting bread in the oven is a simple, healthier way to enjoy your favorite slices.