7 Simple Steps to Unclog Your Kitchen Sink Fast
Dealing with a clogged kitchen sink is one of those everyday frustrations many of us face. You’re not alone—lots of people struggle with slow drainage, backups, or gurgling sounds when using their sink.
Luckily, you can often fix it quickly with a few simple steps.
Start by diagnosing your sink for signs like slow drainage, backups, or gurgling sounds. Then, pour boiling water into the drain to melt grease, followed by a mixture of baking soda and vinegar to break down debris.
Use a plunger carefully, and consider removing and cleaning the trap if needed. For stubborn clogs, a drain snake can do the trick.
Want to find out how to keep your sink clear longer? Keep going for expert tips.
Key Takeaways
- Pour boiling water into the drain to melt grease and loosen debris.
- Use a plunger with a tight seal to dislodge the clog effectively.
- Apply a natural solution of baking soda and vinegar, then flush with hot water.
- Remove and clean the sink trap to clear any trapped debris.
- Use a drain auger carefully to break up or retrieve stubborn clogs.
Diagnose Your Kitchen Sink Clog
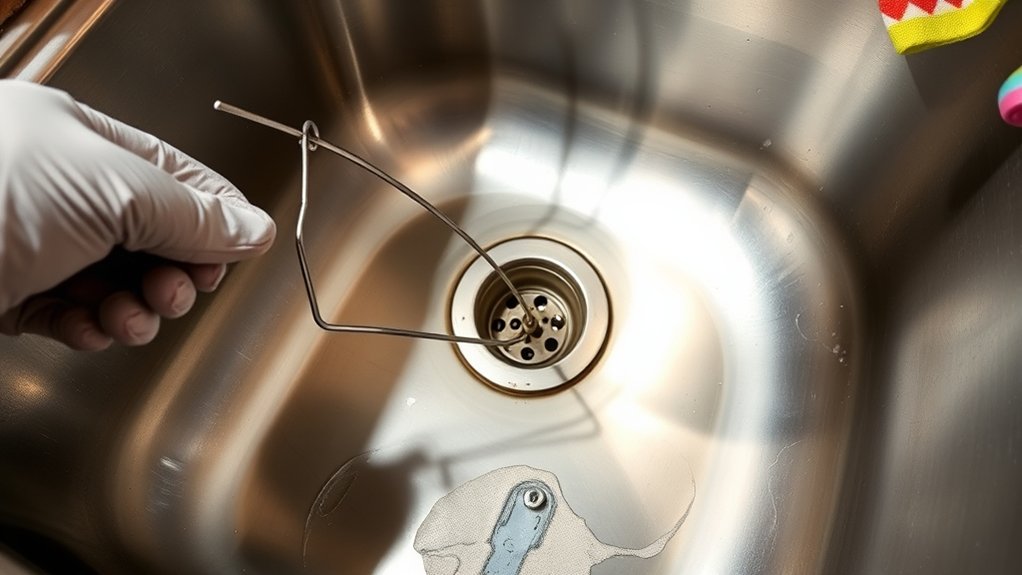
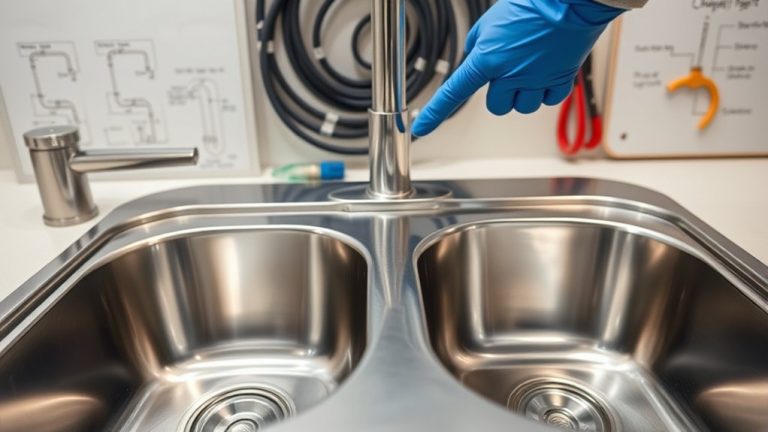
Before trying to clear the clog, you need to identify what’s causing it. Understanding plumbing terms and your kitchen sink’s anatomy helps you troubleshoot better. Your sink has parts like the drain, trap, and pipes connecting to the main plumbing system.
Identify the cause of the clog by understanding your sink’s anatomy and plumbing terms for effective troubleshooting.
First, check if water pools in the sink or drains slowly. That usually means a partial clog. If water backs up when you run the disposal or wash dishes, the clog might be near the drain opening.
Listen for gurgling sounds. They often signal trapped air or a blockage further down the pipes. Remove the sink strainer and look for visible debris that could be causing the clog.
Knowing the anatomy helps you figure out if the problem is in the trap or further down the pipes. Diagnosing the issue correctly saves you time and effort. It also makes sure your next steps are targeted and effective.
Use Boiling Water to Clear Food Debris
Pouring boiling water down your sink is a simple yet effective way to loosen and wash away food debris that may be causing a clog. The hot water helps break down greasy buildup and dislodges food particles stuck in the pipes.
Start by bringing a pot of water to a rolling boil. Carefully pour the boiling water directly into the drain, allowing it to flow through the pipes. Repeat if necessary, especially if the clog persists.
The heat from the boiling water melts away grease and softens food debris, making it easier for water to carry it away. Just be cautious not to pour boiling water into sinks with plastic pipes, as the heat could cause damage.
This method is quick, inexpensive, and chemical-free. It’s a great first step to clear minor food debris blockages without harsh cleaners.
Use this technique regularly to prevent buildup and keep your sink draining smoothly.
Unclog Naturally With Baking Soda and Vinegar
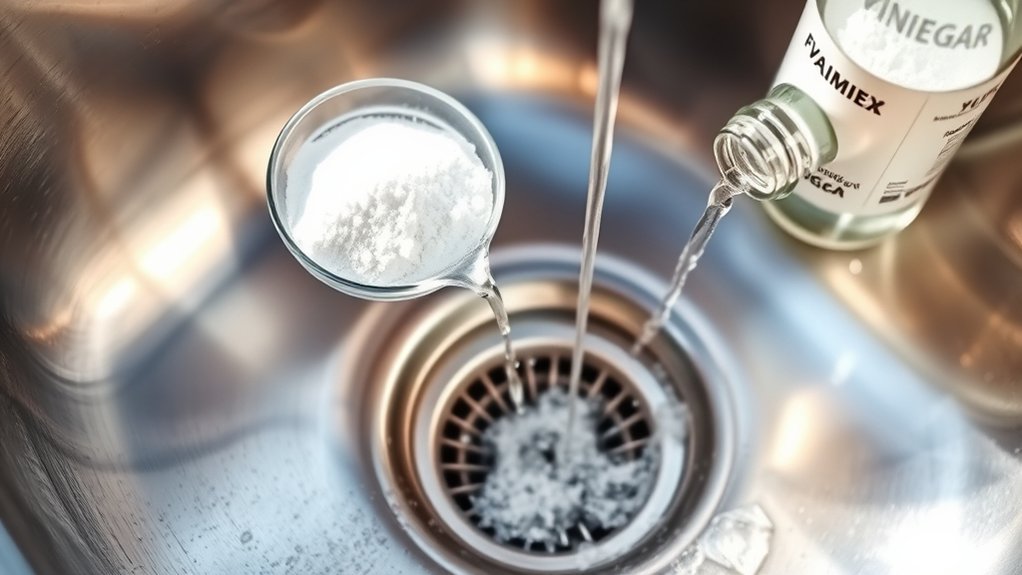
If your sink is starting to slow down, you can often clear minor clogs naturally with baking soda and vinegar. It’s a popular remedy that’s a safe alternative to harsh chemical drain cleaners.
Start by pouring about half a cup of baking soda directly into the drain. Then, add half a cup of vinegar, which will fizz and bubble, helping to loosen debris.
Cover the drain with a damp cloth or stopper to keep the reaction contained. Wait about 15 minutes, then flush with hot water to wash away the loosened clog.
This simple, eco-friendly trick works well for minor blockages caused by grease, soap scum, or food particles. Using baking soda and vinegar is safer for your pipes and the environment than chemical cleaners.
It’s a smart first step before trying more invasive methods. Plus, it’s inexpensive and easy to do!
Fix Clogs With a Plunger
To clear a clog with a plunger, the key is to get the technique right. You want to make sure you create a good seal around the drain, and then use firm, controlled pushes. That way, you’ll be applying enough pressure to loosen the blockage without making a mess.
Choosing the right plunger is also important. For sinks, a cup-style plunger usually does the trick, but for toilets, a flange plunger works best. Picking the right one makes all the difference in getting those stubborn clogs cleared out.
Once you’ve got the right tools and know the proper technique, you’ll be able to handle even tough blockages quickly and with confidence. It’s pretty satisfying to fix a clog yourself, isn’t it?
Proper Plunger Technique
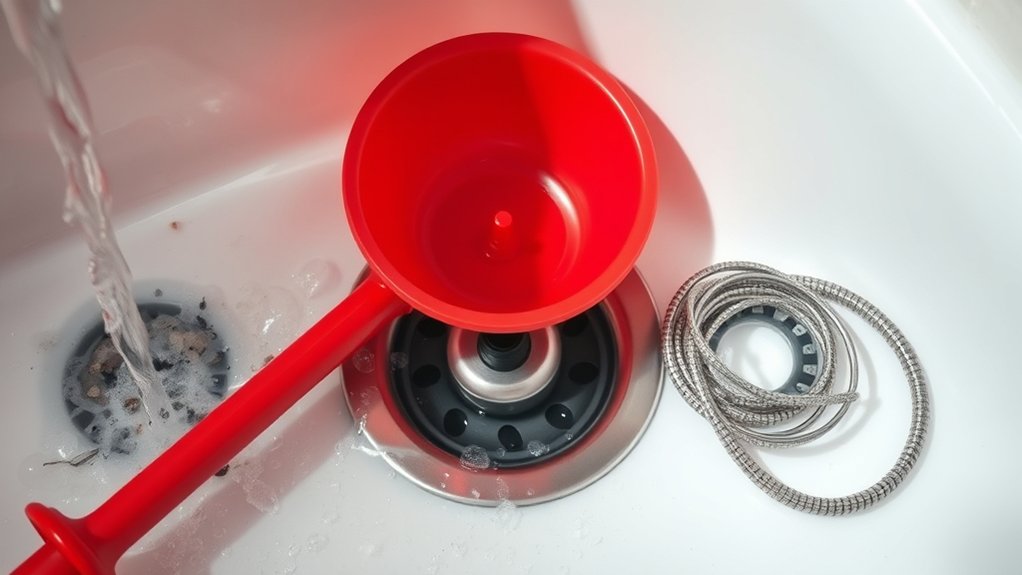
Using a plunger correctly is key to clearing a clogged kitchen sink effectively. First, pick the right type—either a cup or flange—based on your sink’s design.
Make sure you have a good grip. Hold the handle firmly but comfortably, without squeezing too hard. Place the plunger’s cup completely over the drain to form a tight seal.
Use steady, controlled pushes and pulls. Avoid aggressive movements that could break the seal or make things worse. If your sink has an overflow vent, cover it to maintain pressure.
Here’s a quick guide:
| Plunger Types | Proper Grip | Technique Focus | Result |
|---|---|---|---|
| Cup | Firm grip | Seal & push | Clears clog |
| Flange | Comfortable grip | Seal & pull | Breaks blockage |
| Rubber | Secure grip | Steady motion | Effective |
Choosing the Right Plunger
Choosing the right plunger is key to clearing a clogged kitchen sink effectively. When picking tools, think about which type of plunger works best for your situation.
Different plunger types are designed for different purposes:
- Cup plungers with a flat rubber cup are great for sinks because they seal around the drain.
- Bell-shaped plungers give more pressure, making them good for stubborn clogs.
- Plungers with a flange have an extended rubber lip that fits into the drain opening for a better seal.
Choosing the right type ensures you apply maximum pressure without harming your pipes. Make sure the plunger fits snugly over the drain to create a tight seal.
A good seal helps generate effective suction, making your job easier. Picking the right tool is essential for unclogging your sink quickly and efficiently.
Remove and Clean the Sink Trap
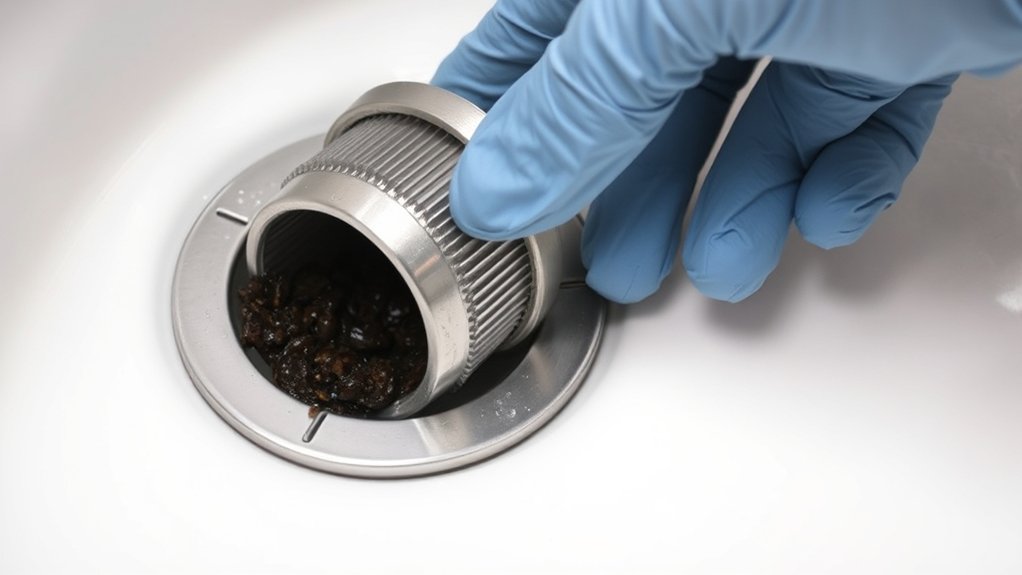
Sure! Here’s a more conversational version of the instructions:
To remove the sink trap, gently loosen it up and carefully take it out. Be sure to catch any water or debris that might spill out so it doesn’t make a mess. Once you have it out, give the trap a good clean with warm water and a brush to get rid of any buildup.
When it’s nice and spotless, put the trap back in place and tighten it up securely. This way, you’ll help prevent any leaks and keep everything working smoothly.
Remove the Trap Carefully
Before you start removing the trap, place a bucket or container underneath to catch any water or debris that might spill out. Carefully loosen the slip nuts securing the trap using pliers or your hands.
As you do this, you’ll notice gunk and hair clinging to the pipe walls, water slowly dripping into the bucket, and dirty debris falling into your container. Performing trap removal requires patience; avoid forcing the pipes apart to prevent damage.
Once loosened, gently pull the trap down and inspect it for blockages. This step is vital for an effective plumbing inspection, helping you identify the clog’s source. Take your time and keep everything steady to prevent messes or damage.
After removal, you’ll be ready to clean and reassemble the trap properly.
Clean and Reassemble Properly
Once you’ve removed the trap, it’s essential to clean it thoroughly to guarantee the clog is fully cleared. Use a brush or old toothbrush to scrub away any debris, grease, or grime that may have built up. Rinse the trap with warm water to remove loosened dirt.
During sink maintenance, check for any cracks or damage that might cause future leaks. Before reassembling, make sure all parts are dry and free of residue. Apply a small amount of plumber’s grease to the threads to prevent leaks.
Reassemble the trap carefully, tightening it securely but not overtightening. Proper cleaning and reassembly are key to effective kitchen cleaning and maintaining your sink’s functionality. This step helps prevent future clogs and keeps your sink running smoothly.
Safely Use a Drain Snake or Auger
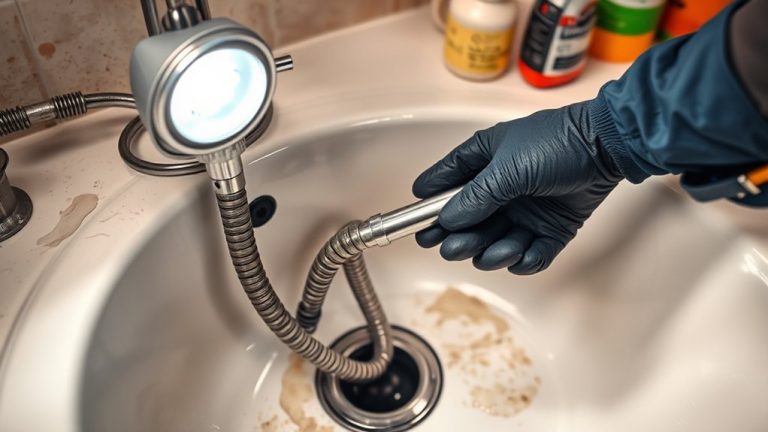
Using a drain snake or auger safely is important to avoid injury or damaging your plumbing. Before you start, wear gloves and eye protection to keep yourself safe from sudden snaps or flying debris.
Carefully insert the drain snake into the drain, feeding it slowly until you feel resistance. Turn the handle clockwise to break through the clog, applying steady pressure as you go. Remember, safety is key—don’t force the tool if it resists, as this can harm your pipes.
Visualize winding the cable carefully into the pipe, feeling for the clog as you go. Apply gentle pressure to prevent cracking or puncturing the pipe.
Finally, retract the auger slowly, pulling out debris and making sure you don’t damage the pipe. Taking your time and being cautious helps get the job done safely and effectively.
Tips to Prevent Future Kitchen Sink Clogs
Simple habits can go a long way in preventing future kitchen sink clogs. Regular kitchen maintenance helps keep drains clear and reduces the risk of buildup.
Start by avoiding pouring grease, oil, or food scraps directly down the drain. Use a drain strainer to catch debris and stop larger particles from causing clogs.
Additionally, flush your sink with hot water once a week to dissolve grease and soap scum. Think of your kitchen sink as a well-organized workspace.
| Clean and Clear | Clog Prevention |
|---|---|
| Use strainers | Avoid pouring fats |
| Hot water rinse | Dispose of solids properly |
| Regular cleaning | Schedule drain inspections |
| Keep drain open | Practice good kitchen habits |
Following these simple tips helps keep your kitchen running smoothly and reduces the chances of future clogs.
Frequently Asked Questions
How Often Should I Clean My Kitchen Sink to Prevent Clogs?
Imagine your sink as a busy highway, where daily traffic can cause unexpected jams.
You should clean your kitchen sink at least once a week to prevent clogs and keep things flowing smoothly.
Follow a regular maintenance schedule, like clearing debris and using hot water, to keep the pipes clear.
Consistent cleaning acts like traffic control, making sure your sink doesn’t back up and cause messes.
Can Hair Cause Kitchen Sink Blockages?
Yes, hair can cause kitchen sink blockages. Hair buildup often joins with soap scum, creating stubborn clogs that slow down water flow.
Even though hair is more common in bathroom drains, it can get washed into the kitchen sink, especially if you’re rinsing hair or hair products.
To prevent this, use a strainer and clean out any hair or soap scum regularly to keep your sink flowing smoothly.
Are Chemical Drain Cleaners Safe for My Pipes?
Chemical drain cleaners are often dangerous for your pipes and the environment. They can cause serious damage through harsh chemical reactions that weaken pipe material over time.
Plus, their environmental impact is significant. They can harm aquatic life and pollute water sources.
Instead, opt for safer alternatives like baking soda and vinegar. These options effectively clear clogs without risking pipe integrity or harming the planet.
Safety always comes first!
What Signs Indicate a Serious Plumbing Issue?
If you notice persistent clogs, foul odors, slow draining water, or gurgling sounds, you might have a serious plumbing issue. These signs shouldn’t be ignored because they often point to underlying problems.
Pipe corrosion can weaken your pipes, leading to leaks or even bursts. Sewer backups are another big concern—they can cause flooding and nasty smells.
If you see any of these signs, it’s a good idea to call in a professional. Addressing these issues early on can save you from costly repairs and keep your plumbing running smoothly.
How Can I Tell if My Sink Trap Needs Replacement?
You can tell if your sink trap needs replacement by inspecting it for signs of pipe corrosion or damage. Look for rust, discoloration, or leaks during your inspection.
If the trap is corroded or cracked, it’s time to replace it. Also, if cleaning doesn’t fix persistent clogs or foul odors, a faulty trap might be the cause.
Replacing the trap can restore proper drainage and prevent leaks, so don’t ignore these signs.
Conclusion
Did you know that kitchen sink clogs account for nearly 80% of household plumbing issues?
By following these simple steps, you can save money and avoid messy repairs.
Regularly using boiling water, baking soda, and vinegar can prevent buildup, while a plunger or drain snake tackles stubborn blockages.
Keep your sink clean and clog-free to enjoy a smooth-running kitchen.
With a little effort, you’ll keep your plumbing flowing freely and avoid costly emergencies.
Remember, addressing sink clogs early can save you time, money, and frustration.