What Happens When You Fire Clay in an Oven?
Are you interested in firing clay but feel overwhelmed by the process and unsure where to start? You’re not alone—many people struggle with understanding what happens when they fire their clay in an oven. Getting the results you want without cracks or warping can seem tricky at first.
When you fire clay in an oven, heat causes chemical and physical changes that turn soft, pliable clay into a hard, durable ceramic. Water evaporates, mineral reactions occur, and silica fuses to form a glassy phase, increasing strength and waterproofing.
Controlling temperature and firing atmosphere affects color, texture, and potential defects like cracks or warping. If you want to understand how to fire clay safely at home and achieve the best results, keep exploring.
Key Takeaways
- Firing causes mineral reactions, forming new compounds that boost clay’s strength and durability.
- Water evaporates quickly, creating steam that can lead to cracks or warping if not controlled.
- The temperature affects vitrification, making the clay denser, less porous, and more resistant to water.
- Proper firing conditions result in a solid, glazed, and visually appealing ceramic piece.
- Over-firing or uneven heating can cause defects like cracks, warping, or glaze problems.
What Is Firing Clay and Why Is It Essential?
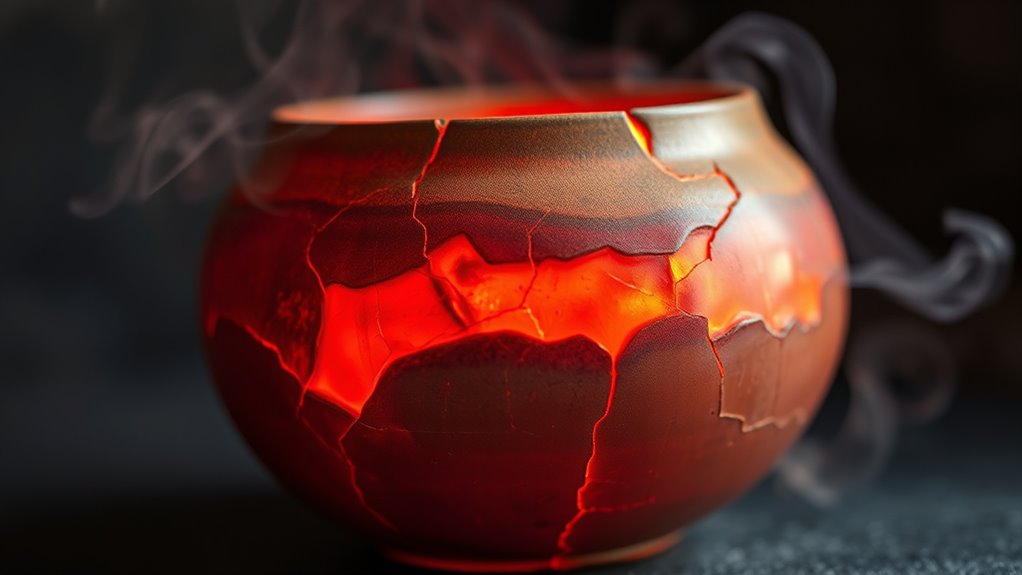
Have you ever wondered what happens to clay once you shape it into a piece of pottery or sculpture? Firing clay is the crucial step that turns your soft, workable material into a sturdy, finished piece.
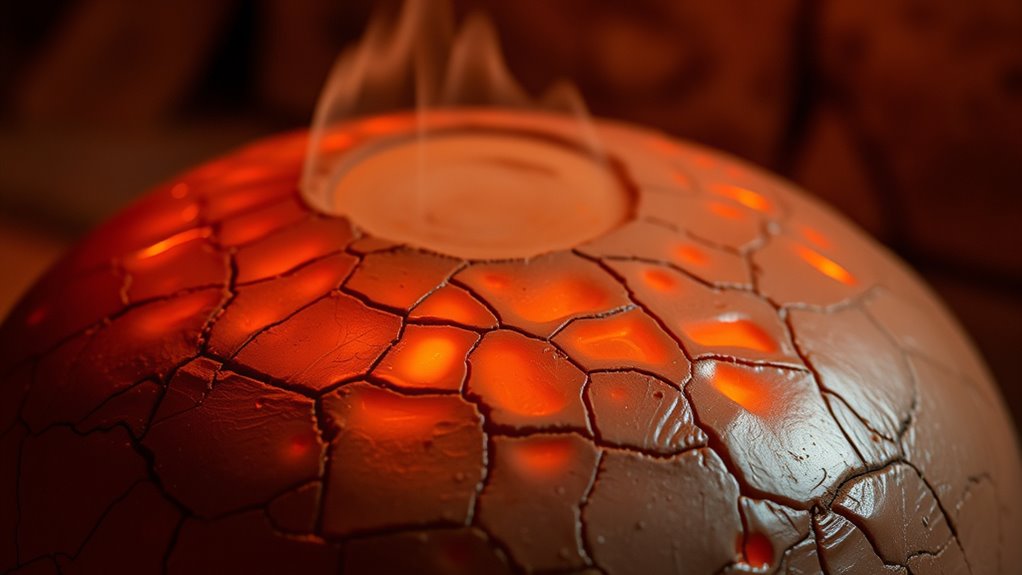
During firing, the clay’s color changes as heat triggers chemical and physical reactions. These reactions give your piece its final hues and textures. The process involves gradually raising the oven’s temperature, which helps prevent cracking or warping.
Firing essentially hardens the clay, making it strong and permanent. It also influences the surface finish, creating either a glossy or matte look depending on the clay type and firing temperature. Without firing, your piece remains fragile and easy to break.
How Heat Changes Clay During Firing
As the heat starts to rise during firing, all sorts of chemical changes happen inside the clay. These changes actually change its structure, making it stronger and more durable. You’ll see the water inside evaporate pretty quickly, leaving the clay dry and ready for you to shape it.
Before long, the clay becomes rigid, locking in the form you’ve worked so hard to create. It’s like the heat is giving your piece a permanent set, turning it into something sturdy and lasting.
Chemical Changes Occur
Did you know that firing clay triggers significant chemical changes that transform its structure? When you expose clay to high heat, the minerals inside undergo chemical reactions, creating new compounds that make the piece durable and hard.
These changes are essential to artistic techniques, allowing you to craft functional pottery or intricate sculptures. Historically, firing methods evolved as civilizations uncovered how to control these chemical reactions, leading to advances like glazed ceramics.
As heat breaks down organic materials and alters mineral composition, the clay’s physical properties shift from soft and fragile to solid and resilient. This chemical transformation is what gives fired clay its characteristic strength and permanence, connecting modern craftsmanship with centuries of artistic tradition and cultural development.
Water Evaporates Rapidly
When clay is heated during firing, one of the first and most noticeable changes is the rapid evaporation of water contained within the material. This process greatly changes the clay’s texture, making it more workable and ready for future transformations. As the temperature increases, you’ll notice:
- Water molecules escaping quickly, creating steam and internal pressure.
- The clay’s surface drying out, which results in a smoother feel.
- Different firing schedules affecting how fast water is lost.
- Cracks can form if water evaporates too fast, which can impact the final product’s strength.
Knowing this phase helps you control the firing process better, ensuring the clay keeps its desired properties throughout heating. Properly managing water evaporation is key to making consistent, high-quality ceramic pieces.
Clay Becomes Rigid
Have you ever wondered how heat transforms soft, malleable clay into a firm, solid piece? As the temperature rises, the clay’s texture changes dramatically, becoming rigid. This process depends on your firing schedules, which control how heat penetrates the clay.
When properly fired, the clay’s particles fuse together, creating a sturdy structure. Here’s a quick overview of how different temperatures affect the clay:
| Temperature | Clay Texture | Result |
|---|---|---|
| Low | Soft, pliable | Slight rigidity, fragile |
| Medium | Firm, yet brittle | Gains strength, prone to cracking |
| High | Rigid, durable | Fully vitrified, solid |
| Over-firing | Excessive hardness | Cracks or warping |
Mastering your firing schedule ensures your piece reaches the perfect rigidity without damage.
What Are the Chemical Changes in Firing Clay?
Firing clay triggers a series of chemical changes that transform its structure and strength. These changes depend on the clay composition and the firing equipment used. When heated, the minerals in your clay interact and undergo reactions.
- Dehydration: Water molecules trapped in the clay evaporate, leaving behind a more stable mineral structure.
- Silica fusion: Silica within the clay begins to melt and fuse, forming a glassy phase that adds durability.
- Quartz inversion: Around 573°C, quartz transforms, causing slight expansion and creating a stronger bond in the ceramic.
- Vitrification: At higher temperatures, the clay particles melt further, creating a dense, glass-like matrix that strengthens and waterproofs.
Understanding these chemical changes helps you select the right firing temperature and equipment. Proper control guarantees the chemical reactions proceed correctly, resulting in a sturdy, well-fired piece.
How Different Firing Temperatures Affect Your Clay
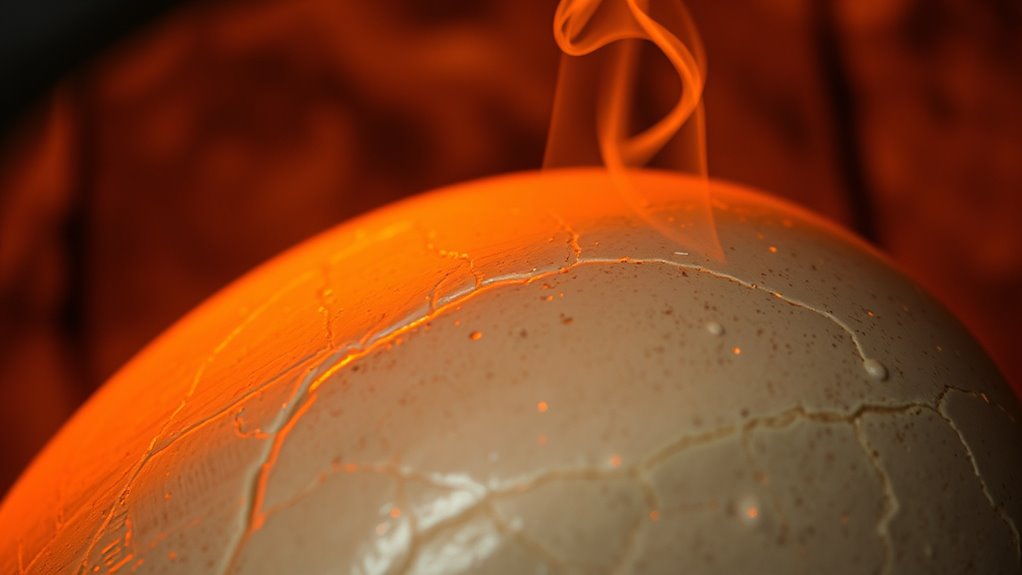
Firing your clay at lower temperatures keeps it softer and more porous. That might be just what you need for certain projects, but keep in mind, it also means your piece won’t be as durable. When you crank up the temperature, your clay gets stronger and more resistant to damage, making it more durable overall.
Also, don’t forget that the firing temperature can really change how your glaze looks. It affects the final finish and overall appearance, so choosing the right temperature is pretty important depending on the effect you want to achieve.
Low-Temperature Firing Effects
When you fire clay at low temperatures, the results can vary quite a bit depending on the heat level you choose. You’ll usually see subtle changes in the clay’s texture, which stays relatively soft and porous.
The firing duration is also really important because it affects how the final piece looks and how stable it is. Shorter firing times might leave the clay fragile and unglazed, while longer ones help bond the clay better but can still leave some porosity.
Lower temperatures prevent the clay from fully vitrifying, so the finish tends to be matte. If the heat isn’t enough, firing can be uneven, which might impact durability and appearance.
High-Temperature Strength Gains
As you increase the firing temperature, your clay undergoes significant changes that improve its strength and durability. Higher temperatures cause the clay mineralogy to shift, transforming its structure into more stable, vitrified forms.
This process reduces porosity and boosts load-bearing capacity. Different firing kiln types, such as electric or gas kilns, reach these high temperatures efficiently, promoting uniform heat distribution.
As the clay reaches its critical firing point, minerals like kaolinite dehydrate, and silica melts, creating a glassy phase that binds particles together. The result is a much stronger, more durable ceramic piece.
Firing at higher temperatures fundamentally fuses the clay particles, giving your work increased resistance to wear, moisture, and mechanical stress.
Temperature and Glazing Interaction
Different firing temperatures can really change how your glaze interacts with the clay surface, affecting the look and durability of your piece. The clay color often shifts with temperature, from softer hues at lower temps to deeper shades when fired hotter. Your firing schedule controls how the glaze melts and bonds with the clay, affecting glossiness and texture.
Consider these points:
- Low-temperature firings keep the clay color true and give a matte finish.
- Mid-range temps help the glaze flow smoothly and bring out vibrant colors.
- High temperatures can make glazes run or craze, changing the surface feel.
- Adjusting your firing schedule helps keep the glaze stable and ensures your piece looks and holds together just how you want.
What Firing Atmosphere Should You Use?
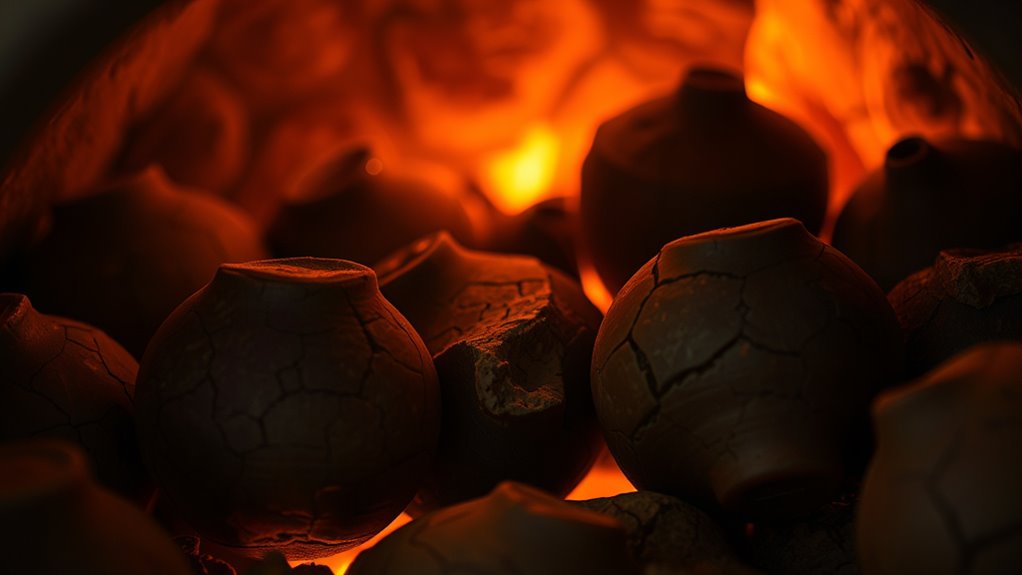
Choosing the right firing atmosphere is essential because it directly affects the final appearance and properties of your pottery. Your decision depends on your clay composition and the type of firing kiln you’re using.
For example, some clays respond best to oxidation atmospheres, where there’s plenty of oxygen. This results in bright, vibrant colors and a glossy finish.
Other clays, especially those with organic materials or specific mineral contents, may require a reduction atmosphere, which limits oxygen and produces richer, more subdued tones.
If you’re using a traditional kiln, you might control the atmosphere by adjusting airflow or introducing gases. In an oven, you’ll need to carefully simulate these conditions, perhaps by managing temperature and airflow.
Understanding your clay’s properties and your kiln type is key to choosing the right atmosphere. Doing so helps ensure your finished piece meets your desired aesthetic and structural qualities.
How to Know When Your Clay Is Properly Fired
Knowing when your clay is properly fired is key to making sure your pottery is strong, durable, and looks just right. In the past, artisans used tools like temperature gauges and visual cues to tell when the firing was complete, showing how important craftsmanship was.
To check if your piece is fired properly:
- Look for a consistent, warm color or uniform tone, which shows the clay has reached the right vitrification level.
- Gently tap the piece; if it rings clearly, it’s a good sign that it’s solid and well-fired.
- Feel the surface— it should be hard, smooth, and free of soft spots or glossiness, which can mean it’s not fully fired.
- Finally, inspect visually. A glossy glaze or a smooth matte finish can indicate the right firing temperature has been achieved.
Why Does Clay Crack or Warp When Fired?
When clay isn’t prepared or fired properly, cracks and warping often happen, which can ruin the look and strength of your piece. This usually occurs because of uneven drying, improper heating, or quick temperature changes that create internal stresses.
Artistic techniques like slow drying and gradual heating can help prevent these issues. The texture of your clay also plays a role—smoother textures tend to crack less, while rougher ones might trap air or moisture, leading to problems during firing.
Understanding these factors can help you avoid warping and cracking. For example, using even drying methods and controlling the firing process carefully can make a big difference.
How to Fire Clay Safely at Home
Firing clay at home can be a fun and rewarding process, but it’s important to do it safely. First things first, you want to pick the right oven — one that can handle the firing process without getting damaged. It’s not just about size, but also making sure it’s suitable for high temperatures.
And don’t forget about your workspace. You’ll want a well-ventilated area because firing clay can sometimes produce fumes or heat. Good airflow helps keep things safe and comfortable while you work. Basically, having the right equipment and ventilation are key to making sure your firing experience is both safe and successful.
Choosing the Right Oven
Have you thought about which type of oven will safely handle firing your clay pieces at home? Choosing the right oven is crucial for ceramic art and keeping your kiln in good shape. For small-scale firing, you might go for a dedicated kiln or a high-temperature electric oven made for ceramics.
Make sure it can reach the temperatures you need, usually between 1,800°F and 2,200°F. When choosing, consider these factors:
- The temperature range suitable for your clay type
- How evenly it heats
- Safety features like insulation and automatic shut-off
- How easy it is to use and maintain
A good oven reduces risks, ensures even firing, and helps protect your clay creations. Investing in the right equipment makes firing safer and more effective, so you can achieve professional results right at home.
Ensuring Proper Ventilation
Proper ventilation is key for safe clay firing at home, as it helps get rid of harmful fumes and smoke during the process. Whether you’re working on a sculpture or trying different firing techniques, good airflow prevents dangerous gas buildup.
Use a well-ventilated space like a garage with open windows or an outdoor area to reduce health risks. Avoid enclosed rooms without exhaust systems, since fumes can build up quickly.
Think about installing a vent fan or exhaust hood if you fire clay projects indoors often. Always keep an eye on the firing process and make sure fresh air is circulating.
Proper ventilation keeps you safe and also helps improve the quality of your finished pieces by reducing contaminants that could affect the final result.
Cooling and Finishing Your Fired Clay Pieces
After removing your clay piece from the oven, let it cool gradually to prevent cracking or warping. Slow cooling respects traditional techniques that focus on gentle handling and helps keep your work’s integrity intact.
This process also gives you a chance to appreciate your piece’s artistic details as they come into focus. To finish your project professionally, follow these simple steps:
Place the piece on a heat-resistant surface and let it cool at room temperature.
Avoid sudden temperature changes, which can cause thermal shock.
Once cooled, gently sand any rough edges or surface imperfections.
If you like, apply a protective glaze or finish to boost durability and enhance its look.
Tips to Improve Your Firing Results and Avoid Common Issues
To improve your firing results and avoid common issues, paying close attention to your kiln’s temperature and firing schedule is key. Proper firing techniques are essential for creating durable, vibrant clay art. Use a reliable thermometer to monitor the temperature accurately and avoid rapid changes that can lead to cracking or warping. Gradually increase the heat to prevent stressing your pieces.
| Tip | Explanation |
|---|---|
| Use a consistent firing schedule | Keep the heating and cooling rates steady to reduce stress on your work. |
| Preheat your kiln | This helps ensure even temperature distribution and prevents thermal shock. |
| Avoid overfiring | Too high a temperature can cause melting or discoloration of your pieces. |
Following these firing tips can help prevent issues like cracking, blistering, or uneven coloring. This way, your clay art will turn out beautifully. Proper control during firing not only improves your results but also helps you develop your skills in creating professional-looking pieces.
Frequently Asked Questions
Can I Reuse Clay Scraps After Firing?
You can’t reuse clay scraps after firing because firing changes their structure, making them brittle and unusable for recycling or scrap reuse.
Clay recycling is best done before firing, when you can knead and remix scraps into new clay.
Once fired, the clay becomes ceramic, so leftover pieces are usually discarded or ground down for other craft projects.
Always plan your workspace to minimize leftover scraps and reduce waste.
How Long Does a Typical Clay Firing Process Take?
A typical clay firing process takes about 8 to 12 hours, depending on the clay’s thickness, texture, and firing atmosphere.
You’ll start with a slow ramp-up to prevent cracking, then keep a steady temperature to ensure even firing.
The firing atmosphere, whether oxidation or reduction, affects the final surface and color.
After reaching the right temperature, you’ll slowly cool the piece to avoid stress and cracks.
What Are Signs of Underfired or Overfired Clay?
Ever wonder if your pottery’s story is written in its cracks or glaze? Underfired clay feels dull, soft, and sometimes sticky, missing vibrant glazing effects. Overfired pieces may warp, crack, or become overly glossy, showing signs of too much heat.
Different firing kiln types influence these signs, so keep a close eye during firing. Proper temperature control guarantees your clay reaches its perfect, durable finish without surprises.
Does Firing Clay Make It Waterproof?
Firing clay in an oven doesn’t make it inherently waterproof. To make it water-resistant, you need to add a sealing or waterproof coating after firing.
These treatments fill in tiny pores, stopping water from seeping in. Without sealing, fired clay can still absorb water over time and weaken.
How Does Firing Temperature Impact Clay Color?
Firing temperature greatly impacts clay color through clay oxidation and color transformation. As you increase the temperature, oxidation processes change the mineral composition, resulting in brighter, more vibrant hues like reds and oranges.
Lower temperatures often produce earthy tones like browns and grays. Higher firing temperatures can cause color shifts, deepening or darkening the clay’s appearance.
Conclusion
Firing your clay is like sending it on a transformative journey, turning soft, malleable earth into a sturdy masterpiece. When you carefully control the heat and atmosphere, you guide your piece through a magical metamorphosis.
Remember, patience and attention are your best tools—like a gentle gardener tending delicate blooms. With practice, your fired creations will stand proud, resilient, and beautiful. Firing clay proves that even simple materials can emerge stronger and more vibrant after their fiery voyage.